


- Contents
PureConnect Installation and Configuration Guide
Step 5: CIC server install
The CIC server installation program installs the CIC software. You must be logged in as a user with administrator privileges on the CIC server in order to run the CIC server install.
Before you start the CIC server install, review the following QoS driver-related information:
-
When you run the CIC server install, the PureConnect QoS driver is silently installed and the certificate is added to the Trusted Publishers list. If your site has reasons for modifying this default behavior, you may wish to modify the QoS properties and run the CIC server install using Group Policy or other methods. Review PureConnect Customer Care KB article https://genesyspartner.force.com/customercare/pkb_Home?id=kA50B0000008R5H so that you can make the appropriate planning decisions for QoS driver installation.
CIC server install
-
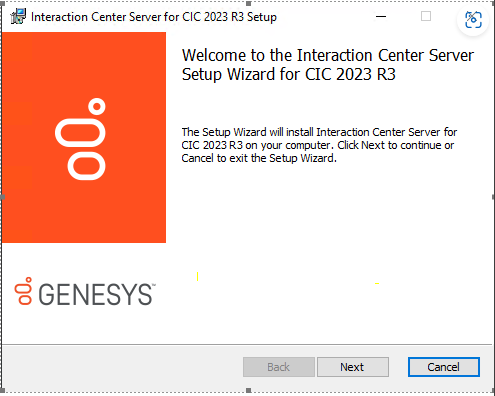
On the Welcome screen, press Next to proceed to the next screen.
Note: The option to generate certificate
signed using SHA-1, which was present in the older versions of CIC has
been removed (from 2023 R3 onwards). The Product now generates certificates
signed using SHA-256.
-
The Domain User Validation screen is pre-populated with account information for the logged-on user with administrator privileges on the CIC server. Enter the password associated with this account, and click Next.
Administrative rights on the local machine are necessary for installing the software and other components that CIC uses. This account is used to start CIC Services.

User
In most cases, the user is the CIC administrator account (Windows 2008 R2 or Windows 2012 R2 domain user account created specifically for the CIC administrator, with administrator privileges on the CIC server). If the network has a mail server, the CIC administrator account should also have an email profile for the mail client installed on the CIC server (e.g., Microsoft Outlook or IBM Notes). See "CIC server" for instructions on creating the CIC administrator account.
If the CIC server is not connected to the network at this time, the user is the currently logged-on user with administrative privileges on the CIC server. If this is the case, when you run IC Setup Assistant, you have the opportunity to change the administrator account. IC Setup Assistant configures the CIC Services to start by using this account.
Password
We recommend that you do not use a blank password.
Domain
In most cases, the name in this field is the network domain that the CIC server is in — the same domain as the mail server, if there is one on the network. If the CIC server is not connected to the network at this time, the name in this field is the CIC server name.
-
In the IC Server Destination Folders screen, specify the target drives for the following directories or keep the default directories, and click Next.
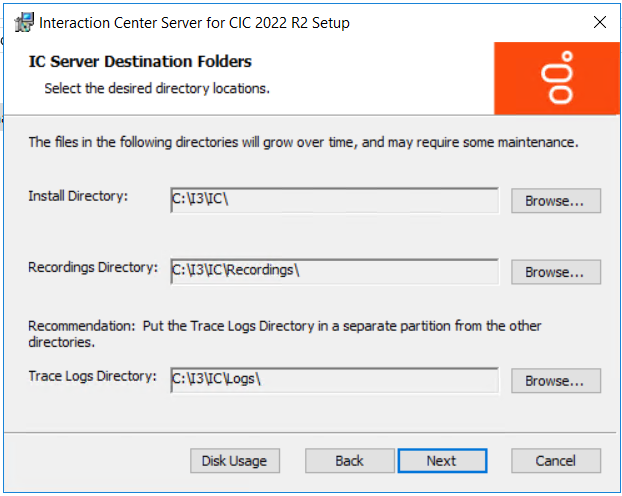
Directory
Description
Install Directory
All CIC server files will be installed in this directory.
Recordings Directory
Directory that will contain recorded calls.
Trace Logs Directory
Directory that will contain trace logs used for debugging.
It will grow quickly, so make sure that there is enough available space. We recommend that you place it in its own partition.
The CIC server install uses this directory to create a directory at the same level for database logging data.
Notes
Typically, the default drive for the CIC server is D:\. You may select
another drive, however, do not select the same drive as your operating
system, usually C:\. Genesys does not support installing the CIC server
directories on the operating system drive.
Specify a separate drive for the Trace Logs Directory.
You may specify different drives for the more heavily used directories,
if desired. The total minimum free space required is 60 GB.
You may change the directory name, but not the paths.
You may wish to review "CIC server"
for additional information about drive partitioning.
-
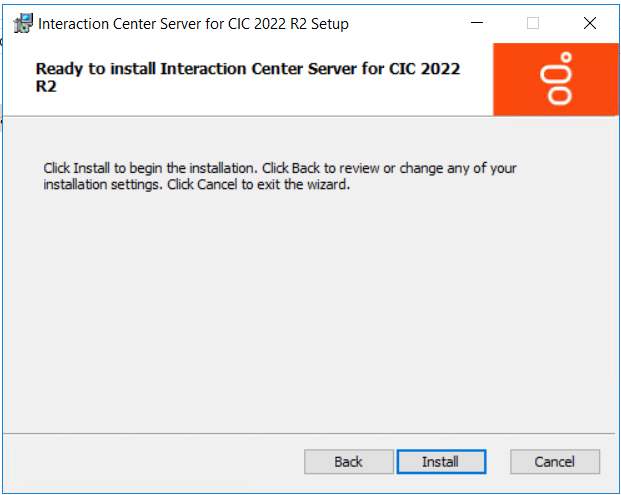
When you are ready to begin the installation, select Install.
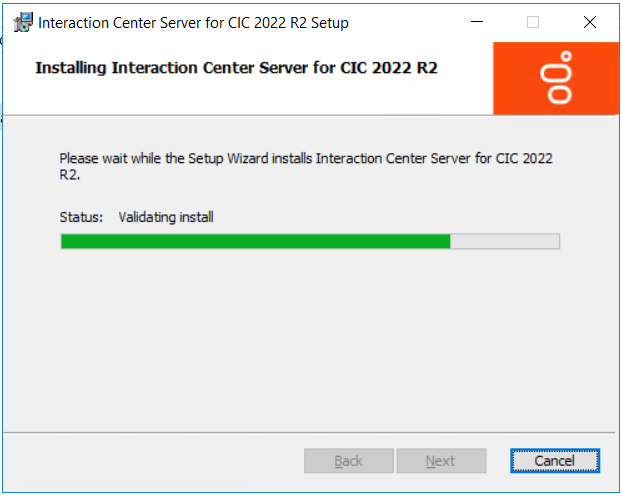
As the installation continues, a status bar indicates the progress.
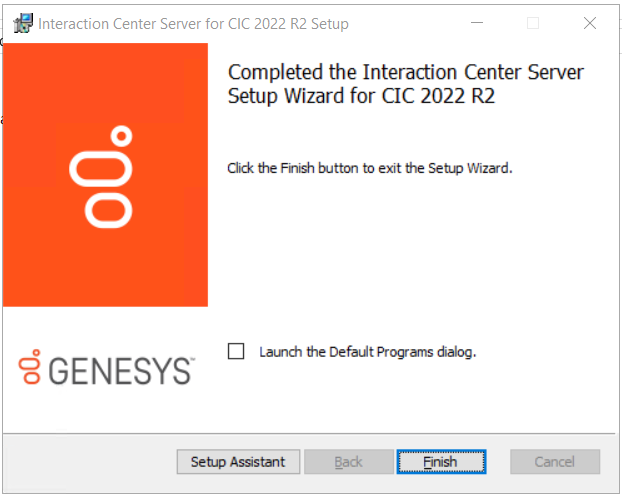
The Completed screen appears.
-
Click Finish.