- Contents
Exchange Manager Help
Update the Destination Schema
Use the Open dialog box to update the destination schema to include new or modified destination fields. Do this update when you update your Latitude database to a newer version, after installing Exchange Manager, or after creating the import file mappings.
To update the destination schema
-
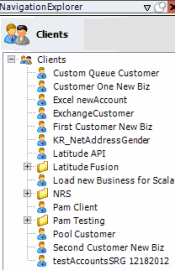
In the Navigation pane, click Clients.

-
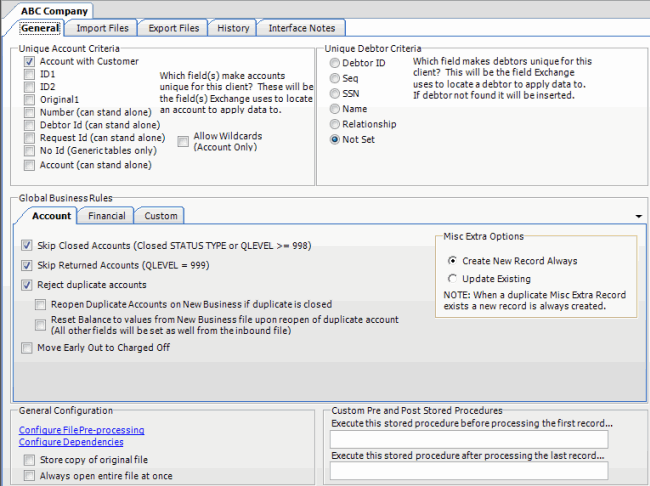
In the Clients pane, expand the appropriate folder and then double-click the client. The tab for the specified client appears in the Information pane.

-
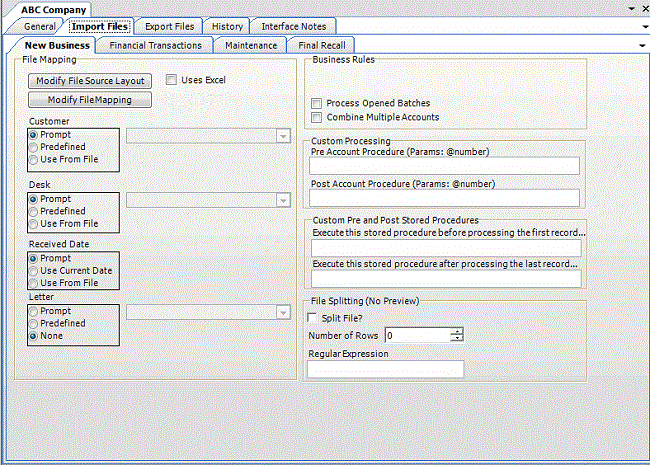
Click the Import Files tab and then click the New Business, Financial Transactions, Maintenance, or Final Recall tab, depending on the import file type.

-
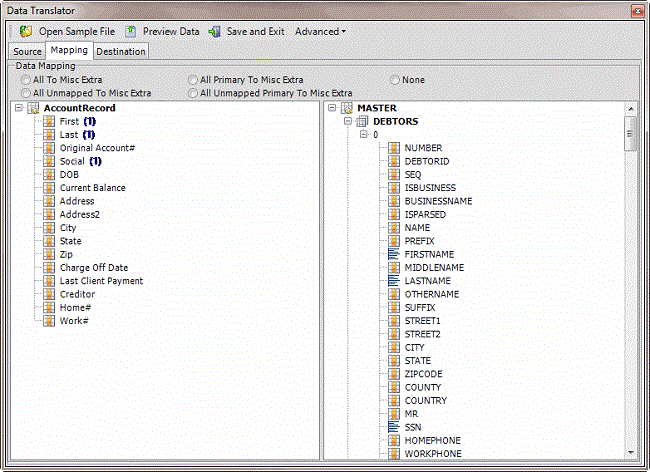
Click Modify File Mapping. The Data Translator window appears.

-
In the menu bar, click Advanced > Load New Destination Schema. The Open dialog box appears.
-
Open the folder that contains your Exchange Manager schemas (for example, "C:\Program Files (x86)\Latitude Software\Data\ExchangeDestinationSchema") and then click the destination schema file.
-
Click Open. The destination schema appears on the Mapping tab.


