- Contents
Invoices Help
Print Checks
Use the Check Register window to print all checks in the check register that your organization hasn't printed yet. Ensure that you have the magnetic cartridge used for checks installed in your printer and the correct paper stock in the paper tray.
To print checks
-
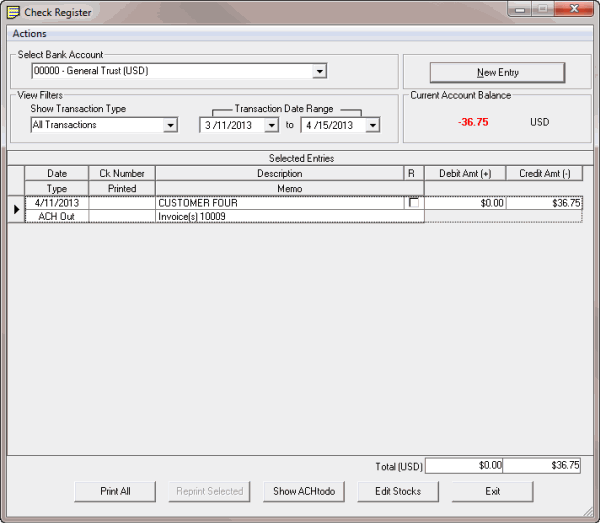
In the Invoices window, from the View menu, click Check Register. The Check Register window appears.

-
In the Select Bank Account list box, click the bank account for which to view transactions.
-
In the Show Transaction Type section, click the type of transactions to view.
-
In the Transaction Date Range section, type the beginning and ending transaction date to view. Transactions that meet the specified criteria appear in the Selected Entries data grid.
-
Click Print All. The Print dialog box appears.
-
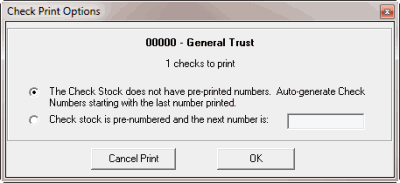
Modify the settings as necessary and then click Print. The Check Print Options dialog box appears.

-
Do one of the following:
-
If the check paper doesn't have pre-printed numbers, click The Check Stock does not have pre-printed numbers. The system prints the check numbers on the checks, starting with the next sequential number after the last check number used. The system also records the check numbers in the check register.
-
For pre-numbered check paper, click Check stock is pre-numbered and the next number is: and then, in the box, type the starting check number. The Invoices program doesn't print the check numbers on the pre-numbered check paper. The Invoices program does use the check number you type in the box to record the check numbers in the check register.
-
Click OK. The Invoices program prints the checks. The Invoices program records the date printed and the check numbers in the Selected Entries data grid. The Invoices program assigns check number "1000" to checks without a check number.


