- Contents
WorkFlow Designer Help
Create a Desk Distribution Template
Use the Template Editor dialog box to create a distribution template to use in a Desk Distribution activity. Use the General tab to specify the conditions that define the desks to include in the distribution. Use the Conditions tab to specify the conditions that define the accounts to include in the distribution.
To create a desk distribution template
-
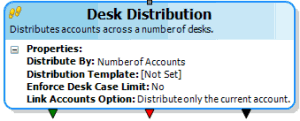
Create or open a workflow with a Desk Distribution activity. For more information, see Create a Workflow or Modify a Workflow.
-
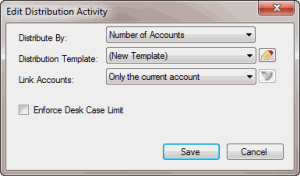
On the workflow tab, double-click the Desk Distribution activity. The Edit Distribution Activity dialog box appears.
-
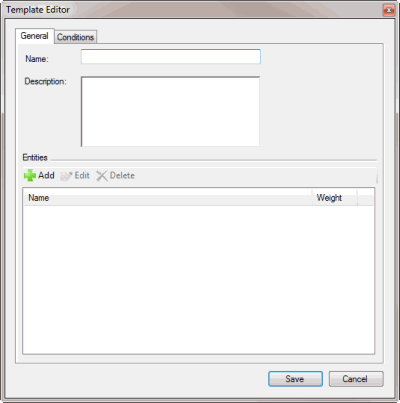
In the Distribution Template list box, click (New Template) and then click the Template icon. The Template Editor dialog box appears, with the General tab selected.
-
Type a name and description for the template.
-
In the Entities section, do the following:
-
Click Add. The Entity Editor dialog box appears.
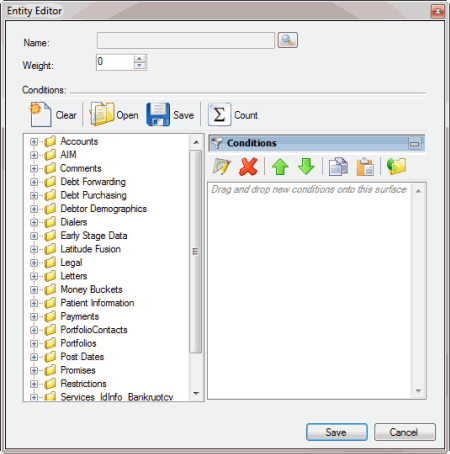
Weight: Number of times more of these accounts to distribute to this desk as opposed to other desks. For example, if the weight is 2, the system distributes 2 times more accounts to this desk than other desks. Weighting is useful when you don't set conditions to limit accounts or the conditions yield the same number of accounts across desks.
-
Next to the Name box, click the Search icon. The Select Desks dialog box appears. Click the desk to distribute accounts to and then click Open. WorkFlow Designer populates the Name box with the specified desk.
-
In the Weight box, type the multiplication factor for the accounts to distribute to the desk.
-
In the Conditions section, specify the conditions that define the desks to include in the distribution. The method for creating and managing conditions is the same as for user-defined event conditions. For more information, see the related topics section in User-defined Event Conditions.
-
Click Save. WorkFlow Designer adds the entity to the Entities section of the Template Editor dialog box.
-
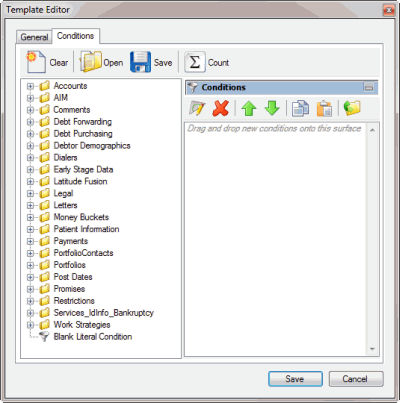
In the Template Editor dialog box, click the Conditions tab.
-
Specify conditions that define the accounts to include in the distribution and then click Save. WorkFlow Designer populates the Distribution Template list box in the Edit Distribution Activity dialog box with the name of the new template.
-
Click Save. WorkFlow Designer updates the Desk Distribution activity in the workflow.


