- Contents
Create a Custom Queue
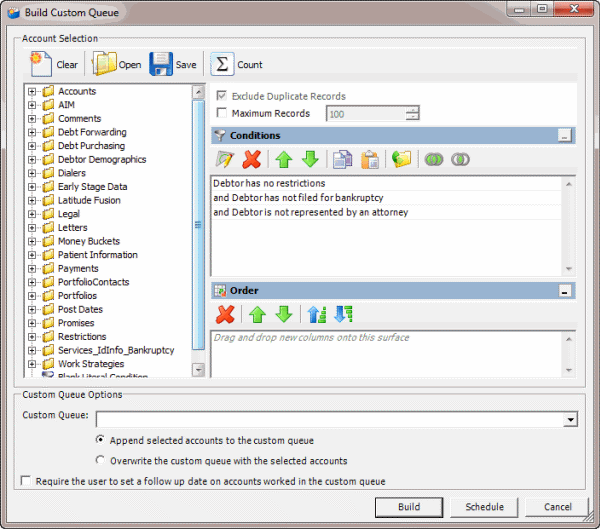
Use the Build Custom Queue window to create a custom queue based on a query of accounts that meet specific criteria.
To create a custom queue

-
In the Custom Queue Options section, do one of the following:
|
To... |
Then... |
|
Append the query results to an existing queue... |
Note: If the system placed accounts in the custom queue through multiple queries, it's possible that some accounts in the custom queue require follow-up and some don't. |
|
Overwrite an existing queue with the new query results... |
|
|
Save the query results to a new queue... |
In the Custom Queue list box, type a queue name. The name cannot contain spaces. |
-
To require follow-up on accounts in the custom queue, select the Require the user to set a follow up date on accounts worked in the custom queue check box. When the user deletes an account from the custom queue after working it, the system prompts the user to set the account follow-up date.
-
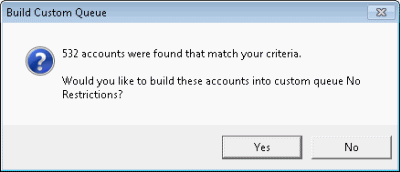
Click Build. The Build Custom Queue dialog box appears.

-
Click Yes. A message dialog box appears.
-
Click OK. Users with the appropriate permissions can select the custom queue from the Work Form and work the accounts in the queue.
Related Topics


