


- Contents
Add a Client
Use the General tab in the Client dialog box to maintain general information for a client.
To maintain general client information
-
In the Navigation pane, click System Codes and Settings > Accounts > Client.

Tip: To limit the clients that display in the data grid, click one or more check boxes next to a column heading. In the Filter box, type one or more characters and then press Enter. To clear a filter, clear the check boxes and then click the Refresh icon.
-
Click the plus sign (+).

-
In the Client Code box, type a unique code to identify the client and then click Next.
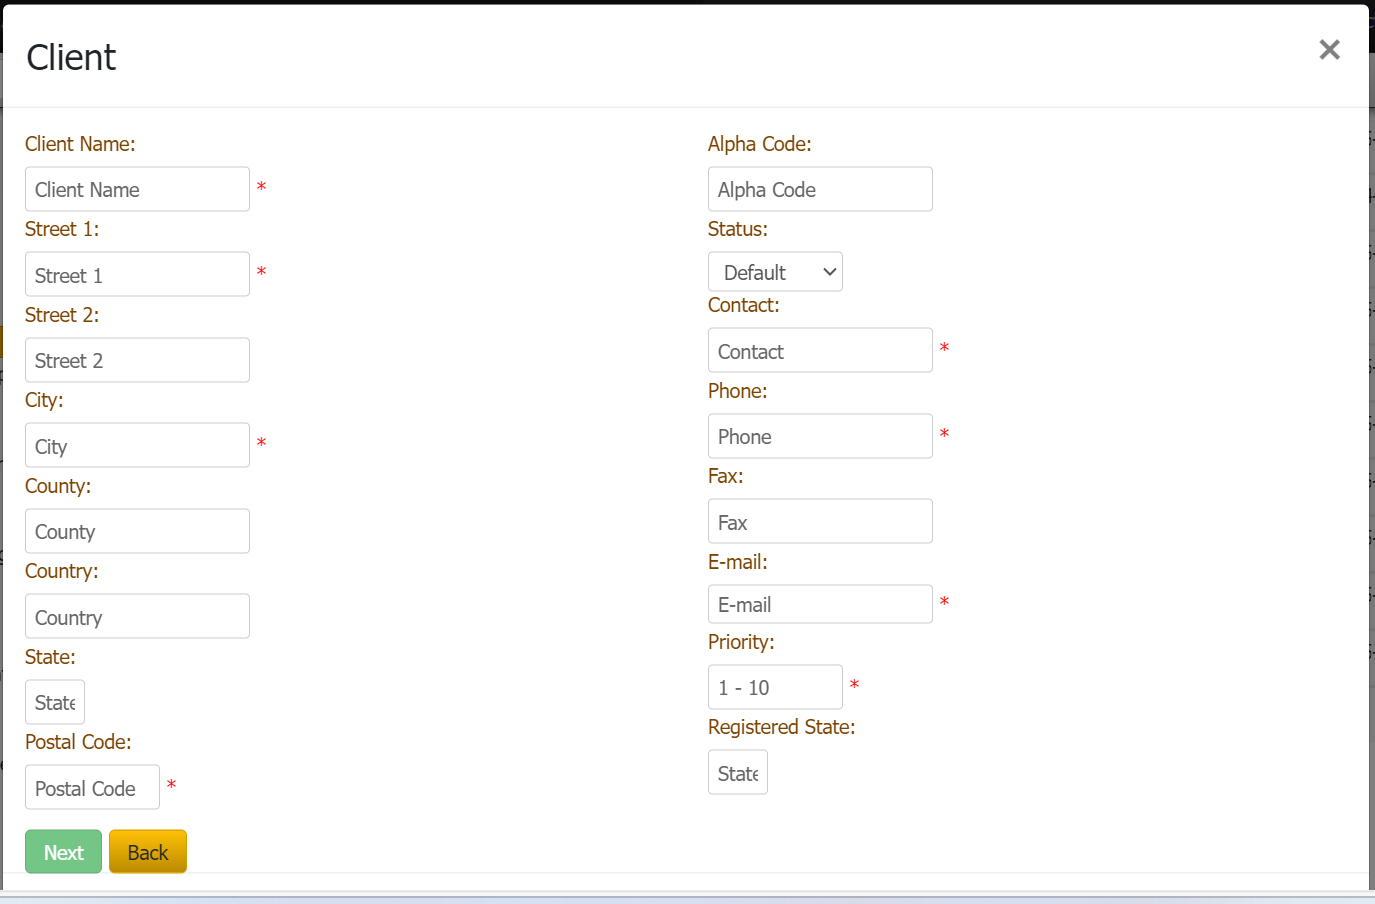
Client Name: Full name of the client.
Street 1: First line of the client's street address.
Street 2: Second line of the client's street address.
City: Client's city.
County: Client's county.
Country: Client's country.
State: Client's state.
Postal Code: Client's postal code.
Alpha Code: Generic code used for conversions from other systems. Allows your organization to reference any code associated to the client previously.
Status: Status of the account.
Contact: Full name of the contact person.
Phone: Contact person's phone number.
Fax: Contact person's fax number.
Email: Contact person's email address.
Default Interest: Interest rate to assign to new accounts imported for this client. You can override the rate using Exchange or manually. For more information, see Maintain General Client Information.
Priority: Sets the priority when spreading payments across linked accounts. Generally, the values are 1-10 (with 10 being the highest priority). You can assign the same priority to clients. Maximum settings allow up to 255 priorities.
Registered State: State of registration for the client.
-
Complete the information and then click Next.

First Letter: First letter to generate for new accounts. For information about managing letters, see the Letter Console documentation.
Bank: If your organization prints checks for the client, this value is the trust account your organization uses for this client. For information about setting up trust accounts and printing checks, see the Invoices documentation.
Salesman: Salesman handling this client account. For more information, see Salesman.
Class of Business: Class of business to assign to this client account. For more information, see Classes of Business.
CBR Setup: Credit Bureau Reporting method.
Is Principle Client: If selected, your organization owns the accounts that this client holds. If cleared, your organization holds this client's accounts for collection purposes only.
-
To specify one or more letters to populate the First Letter list box, do the following:
-
Click Letter Pool.
Note: Only the letters with a time restriction set in Letter Console to either "Allow Always" or "Only Allow in First 30 Days" appear in this dialog box.

-
Select the check box for each letter you want to display in the First Letter list box.
-
Clear the check box for each letter you don't want to display in the First Letter list box.
-
Click Close.
-
In the First Letter list box, click the first letter to send to customers.
-
Complete the remaining information and then click Finish.