- Contents
WorkFlow Designer Help
Create a Workflow
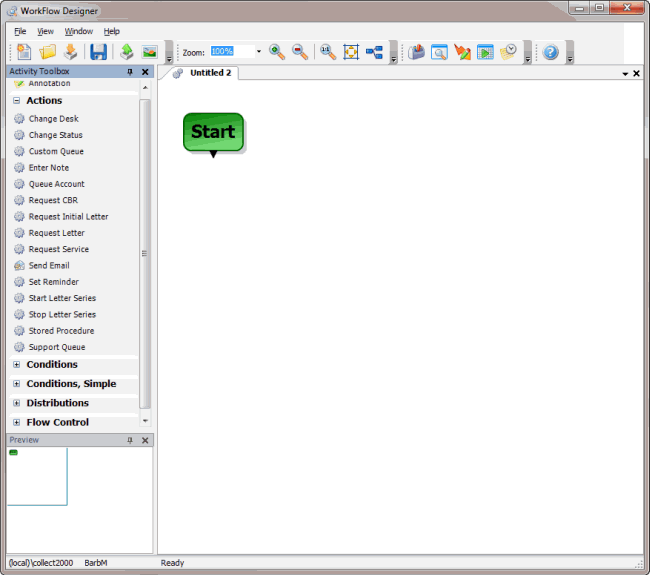
Use the Untitled [#] tab to create a workflow. You drag and drop activities to a workflow and then connect the activities to define the processing order. You can add and delete activities and connect and disconnect activities as necessary.
To create a workflow
-
Do one of the following:
-
From the File menu, click Create New Work Flow.
-
From the WorkFlow toolbar, click the Create icon
 .
.
The Untitled [#] tab appears with a Start activity included.

-
Drag an activity from the Activity Toolbox to the workflow tab.
-
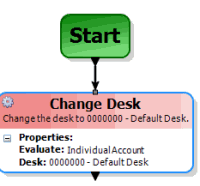
To connect the activity to the Start activity, click and drag the arrow from the Start activity to the endpoint of the activity you added.

-
Continue adding activities as necessary and connecting them in the order you want them to process.
Note: If you add a condition or distribution activity and don't specify an action to process for one of the endpoints, the unconnected endpoint results in the end of the workflow.
Tips:
-
To delete an activity from the workflow, on the workflow tab, click the activity and then press the Delete key.
-
To delete a connection, click the connecting line and then press the Delete key.
-
Do the steps to Modify Criteria for an Activity.
-
In the WorkFlow toolbar, click Save. The Save WorkFlow dialog box appears.
-
In the Work Flow box, type a name for the workflow and then click Save.


