- Contents
Latitude Console Help
Add a Database Table
Use the Add Table Wizard to add columns from a Latitude database table or view to the Condition Selection pane in the Configure Conditions window.
To add a database table
-
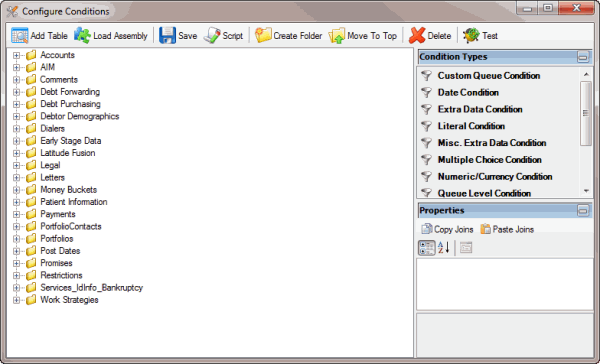
In the Main Menu window, from the Tools menu, click Condition Builder. The Configure Conditions window appears.
-
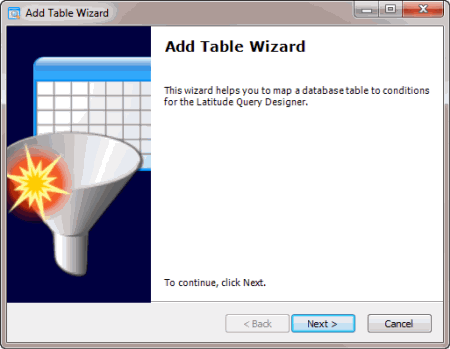
In the toolbar, click Add Table. The Add Table Wizard appears.
-
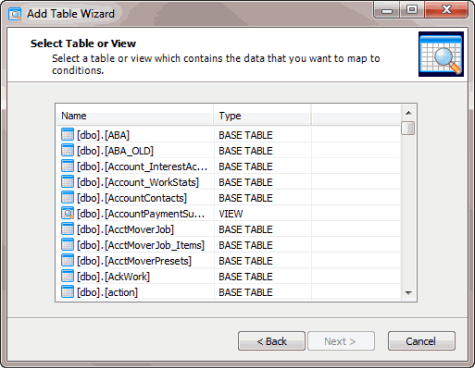
Click Next. The Select Table or View page appears, which lists the Latitude database tables and views.
-
Click the table or view and then click Next. The Select Key Reference page appears.
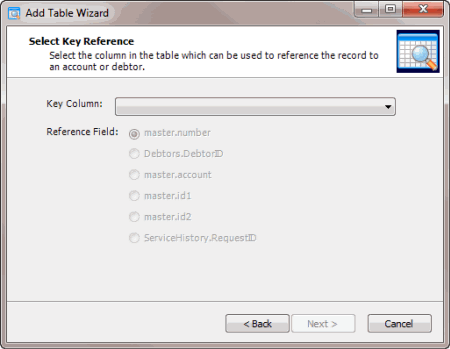
Key Column: Field to use to match records to an account or customer on an account.
Reference Field: Field that ties the Key Column to the Master, Debtor, or ServiceHistory table. The options are:
master.number: Latitude file number in the Master table.
Debtors.DebtorID: Customer number in the Debtors table.
master.account: Customer account number in the Master table.
master.id1: ID1 field in the Master table.
master.id2: ID2 field in the Master table.
ServiceHistory.RequestID: Unique request number for service information in the ServiceHistory table.
-
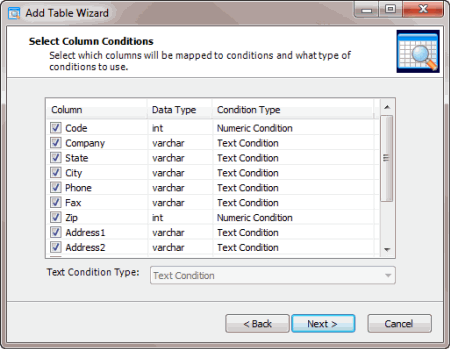
Specify the Key Column and Reference Field and then click Next. The Select Column Conditions page appears.
-
Clear the check box for each column to exclude from mapping.
-
To change the condition type for a column assigned the text condition type, click the column name and in the Text Condition Type list box, click the condition type.
-
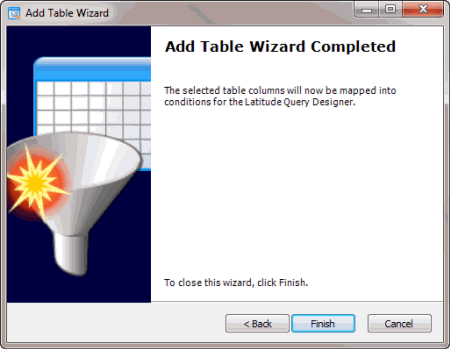
Click Next. The Add Table Wizard Completed page appears.
-
Click Finish. The system adds the table or view to the Condition Selection pane in the Configure Conditions window.
Related Topics


