- Contents
List Builder Help
Export Call List to Genesys Cloud Campaign
Create and export a call list to Genesys Cloud campaign. This feature is for Latitude integrations with Genesys Cloud. For more information about the integration, see Latitude Integration with Genesys Cloud in the Latitude Help.
To export a call list to a Genesys Cloud campaign
-
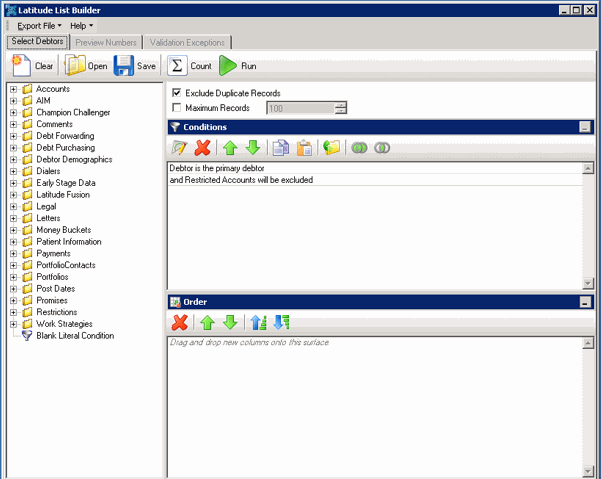
In List Builder, drag and drop conditions into the Conditions pane to select the accounts to include in the call list.
-
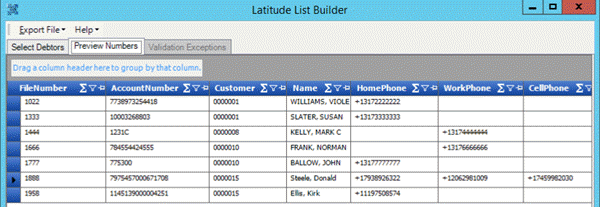
In the toolbar, click Run. The results appear on the Preview Numbers tab.
-
In the menu bar, click Export File and then click Genesys Cloud. The GCConfig dialog box appears.
-
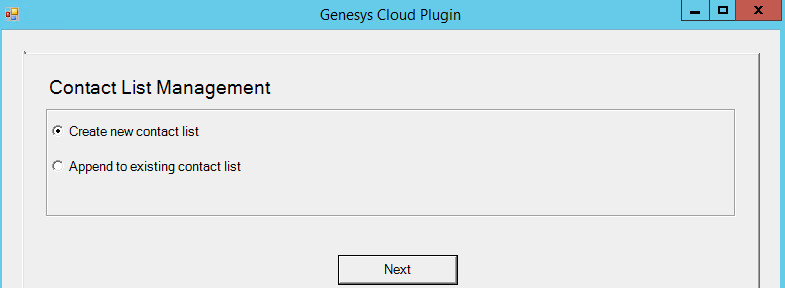
In the Contact List Management, select one option as following:
-
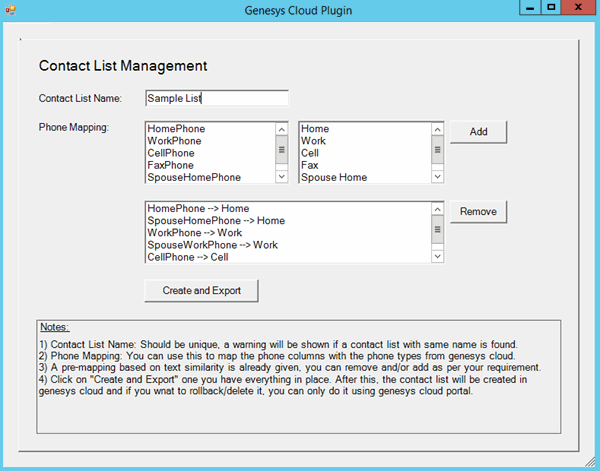
To create new contacts, select Create new contact list option and click Next. The Contact List Management dialog box appears.
-
Contact List Name: Unique name to assign to the contact list.
-
Phone Mapping: Phone number mapping from Latitude to Genesys Cloud.
Complete the information and then click Create and Export. The contact list will be created in the Genesys Cloud. The Campaign Management dialog box appears.
-
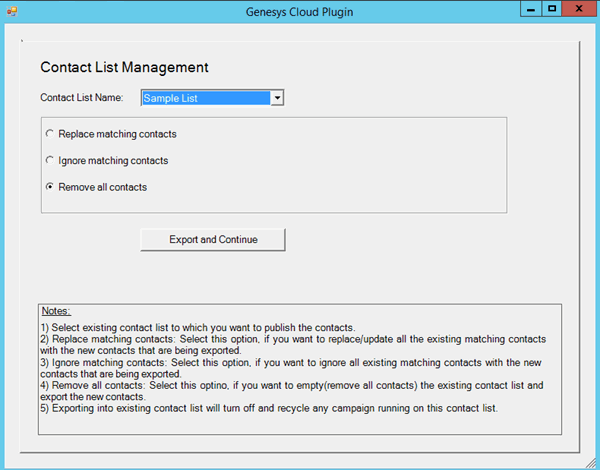
To modify the existing contacts, select Append to existing contact list and click Next.
-
Contact List Name: Existing contact list name to which you want to publish the contacts.
-
Replace existing contacts: Update/replace all the existing contacts with the new contacts.
-
Leave existing contacts: Ignoring the existing contacts and updating the list with new contacts.
-
Remove all existing contacts: Removing all the existing contacts and adding the new contacts.
Select any one above option and then click Export and Continue. The Campaign Management dialog box appears.
-
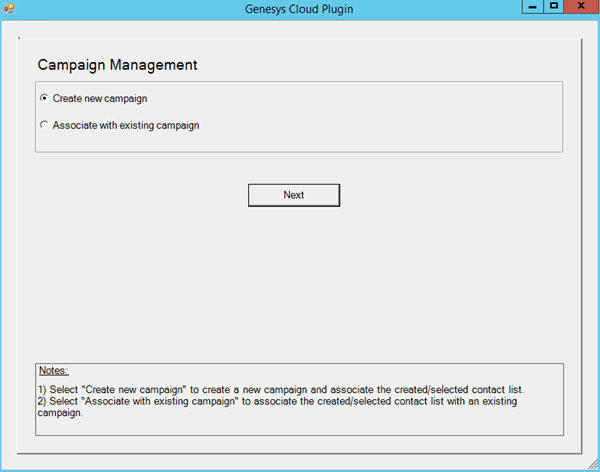
In the Campaign Management, select one option as following:
-
To create new campaign, select Create new campaign option and click Next.
-
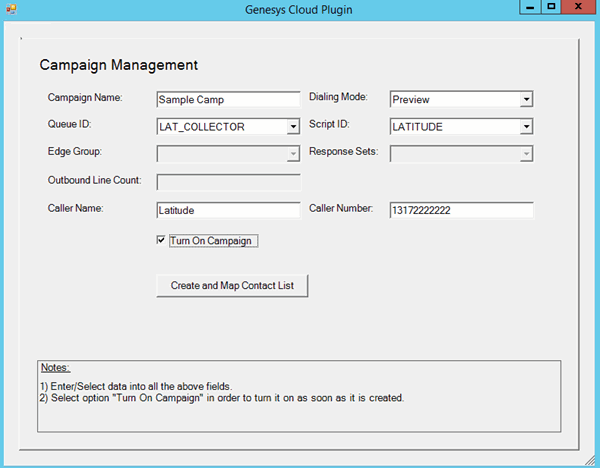
Campaign Name: Unique name to assign to the campaign.
-
Dialing Mode: Calling mode for when and how the campaign places calls.
|
Mode |
Description |
|
AgentLess |
Places calls and uses call analysis to detect whether a call was answered, whether by live person or voicemail. If answered, the campaign can play a message or transfer the call to an outbound IVR call flow. |
|
Power |
Places calls from the campaign list only when an agent is available to take the call. |
|
Predictive |
Predicts agent availability and places calls accordingly. |
|
Preview |
Presents the agent with information about the targeted party and allows the agent to place the call when ready. |
|
Progressive |
Places a call to one party for each available agent to reduce the risk of abandonment. |
-
Queue ID: Code that identifies the Genesys Cloud queue to route the campaign calls through.
-
Script ID: Code that identifies the Genesys Cloud script for agents to use when processing interactions.
-
Caller Name: Caller ID name that you want to display to people when the campaign contacts them.
-
Caller Number: Caller ID phone number that you want to display to people when the campaign contacts them.
-
Phone Mapping: Phone number mapping from Latitude to Genesys Cloud.
-
Turn on Campaign: If selected, the campaign is turned on and active. If cleared, the campaign is turned off and inactive.
Complete the information and then click Create and Map Contact List. List Builder exports the call list and creates the campaign in Genesys Cloud. For more information, see View Latitude Contact List and Campaign in Genesys Cloud in the Latitude Help.
-
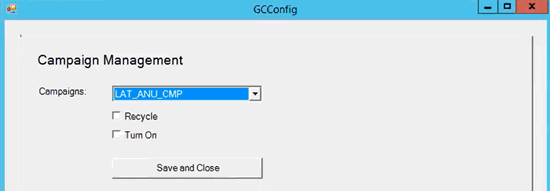
To associate the created/selected contact list with the existing campaign, select Associate with existing campaign option and click Next.
-
Campaigns: Existing campaign list is displayed. By default, it will display the associated contact list. Selected campaign will be stopped while it is in progress.
-
Recycle: Recycle the selected campaign after association.
-
Turn On: Turn on the campaign after association.
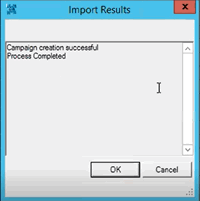
Select any one above option and then click Save and Close. The Import Results dialog box appears.
