- Contents
Add a User
Use the Users - Roles window to add a user.
To add a user
-
In the Main Menu window, from the Maintenance menu, click Users and Roles. The Users and Roles window appears.
-
From the Action menu, click New User. A blank user record appears in the Information pane. Complete the information requested.
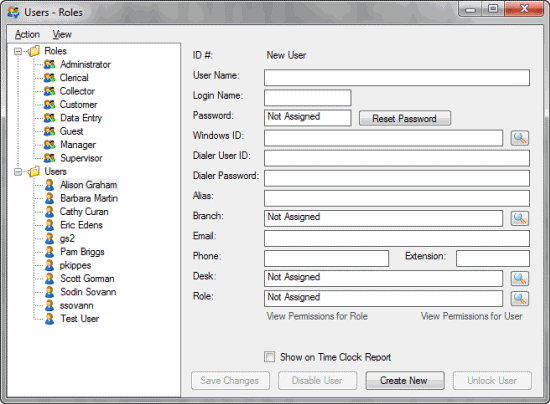
User Name: Type the user's first and last name.
Login Name: Type the user's logon name.
Password: The user's password appears here after you set it using the Reset Password button.
Windows ID: The user's Windows authentication ID. If you specify a Windows ID, the user can select the Log in using Windows authentication box in the Latitude Login dialog box when logging on to Latitude.
Dialer User ID: Type the user ID to send to your agency's dialer interface. Some dialer vendor interfaces don't require a user ID.
Dialer Password: Type the user password to send to your agency's dialer interface. Some dialer vendor interfaces don't require a password.
Alias: Type the name the user goes by when making calls (desk name).
Branch: The branch assigned to the user.
Email: Type the user's email address (for example, jdoe@mycompany.com).
Phone: Type the user's telephone number
Extension: Type the user's telephone extension number.
Desk: Desk assigned to the user.
Role: Role assigned to the user.
View Permissions for Role: Click to open the Permissions and Policies Editor window to view the permissions assigned to the selected role.
View Permissions for User: Click to open the Permissions and Policies Editor window to view the permissions assigned to the user.
Show on Time Clock Report: To include the user's logon and logout time on the User Logon report (formerly the Time Clock report), select this box.
Save Changes: Click to save the new user.
Disable User: Click to make the user's account inactive so the user cannot log on. This button is not available when adding a user.
Create New: Click to create another user. A blank record appears.
Unlock User: Click to unlock the user's account. This button is not available when adding a user.
-
To use Windows authentication for logging on, do the following:
-
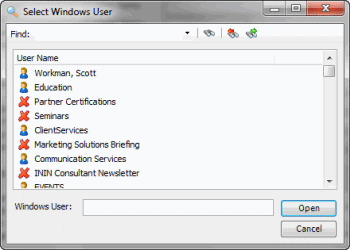
Next to the Windows ID box, click the Search icon
 . The
Select Windows User dialog
box appears.
-
Click the user's name and then click Open. The Windows ID appears in the Windows ID box.
-
To assign a branch to the user, do the following:
-
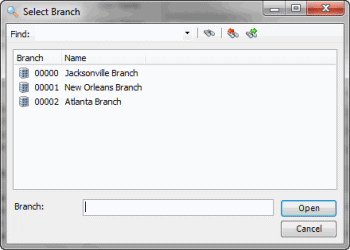
Next to the Branch box, click the Search icon. The Select Branch dialog box appears.
-
Click the branch and then click Open. The branch appears in the Branch box.
-
To assign a desk to the user, do the following:
-
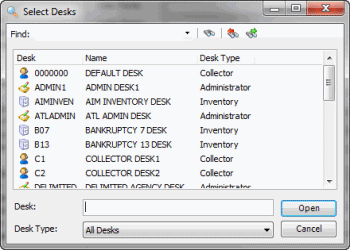
Next to the Desk box, click the Search icon. The Select Desk dialog box appears.
-
Click the desk and then click Open. The desk appears in the Desk box.
-
To assign a role to the user, do the following:
-
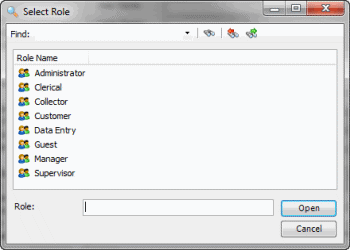
Next to the Role box, click the Search icon. The Select Role dialog box appears.
-
Click the role and then click Open. The role appears in the Role box.
-
Complete the remaining information and then click Save Changes.


