- Contents
Exchange Manager Help
Import a New Client
Use the menu bar to import a new client into Exchange Manager.
To import a new client
-
From the menu bar, click File > Import > Client. The Open dialog box appears.
-
Click the file that contains the client information to import and then click Open. A confirmation dialog box appears.
-
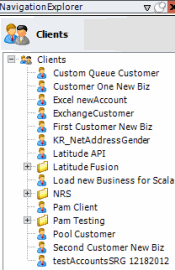
Click OK. The client name appears in the Clients pane.

-
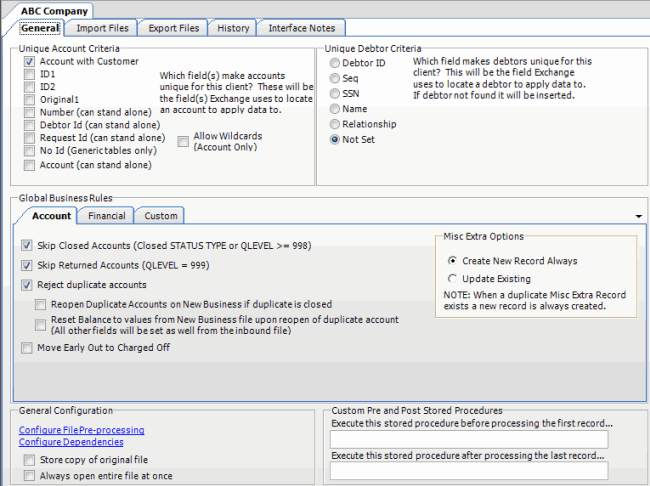
In the Clients pane, double-click the client name. The [Client Name] tab appears in the Information pane.

-
Complete the information on the General, Import Files, and Export Files tabs and then, in the toolbar, click Save. For more information, see General Configuration, Import Files, and Export Files.


