- Contents
Exchange Manager Help
Configure Date Conditions
Use the Configure Conditions dialog box to specify how to apply date conditions.
To configure date conditions
-
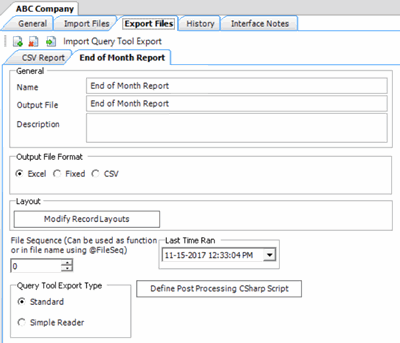
Click the [Export Layout Name] tab on the Export Files tab (for example, End of Month Report).

-
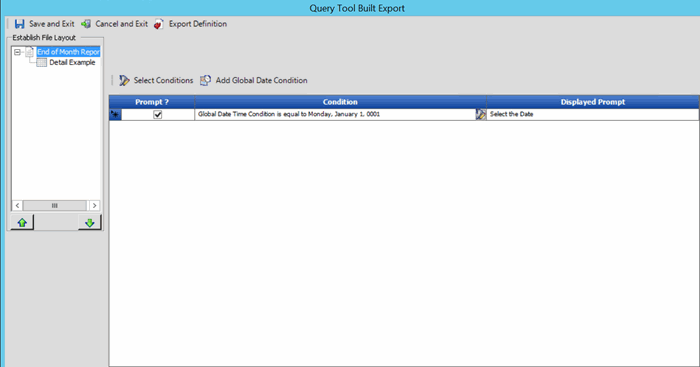
Click Modify Record Layouts. The Query Tool Built Export window appears.

-
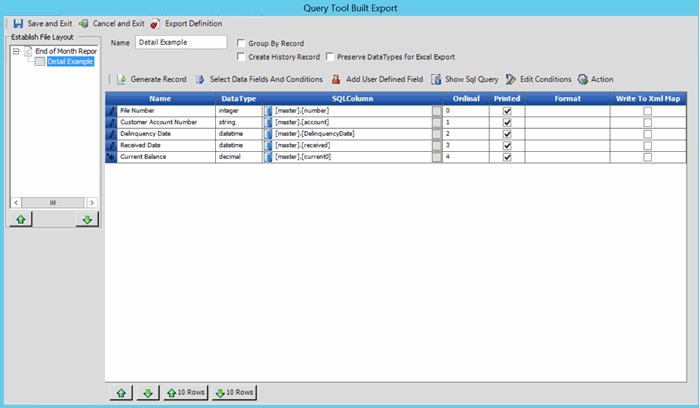
Click the name of the detail record (for example, Detail Example). Information for the detail record appears.

-
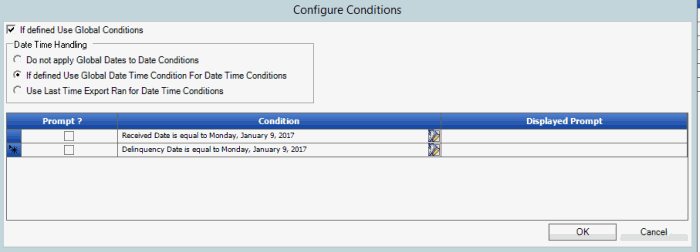
Above the data grid, click Edit Conditions. The Configure Conditions dialog box appears.

If defined Use Global Conditions: If selected and you defined global date conditions, Exchange Manager uses the global date conditions instead of the date conditions listed in the data grid.
Do not apply Global Dates to Date Conditions: If selected, Exchange Manager uses the date conditions listed in the data grid instead of the global date conditions you defined.
If defined Use Global Date Time Condition For Date Time Conditions: If selected and you defined global date conditions, Exchange Manager uses the global date conditions instead of the date conditions listed in the data grid.
Use last Time Export Run for Date Time Conditions: If selected, Exchange Manager uses the date and time a user last ran the export instead of the date conditions listed in the data grid or the global date conditions you defined.
Prompt: If selected, Exchange Manager prompts the user for input for the condition.
Condition: Condition that limits the records to export. To modify the condition, click the Edit icon next to the condition.
Displayed Prompt: Prompt to display to the user to request input when exporting the data. If you selected the Prompt check box, type a message in this box.
Note: For date conditions, if you chose to use a global condition, the system ignores the prompts and conditions listed in the data grid.
-
Complete the information and then click OK.
-
In the Query Tool Built Export window, click Save and Exit.
-
In the Clients pane toolbar, click Save. The Update Comment dialog box appears.
-
In the Update Comment box, type a comment regarding your changes and then click OK.


