- Contents
Exchange Manager Help
Define the File Layout
Use the Define Import Layout window to create a file that defines the delimited or fixed file layout for an import file. Add the record types needed, such as header record, main record, subordinate records, and trailer record.
To define the file layout
-
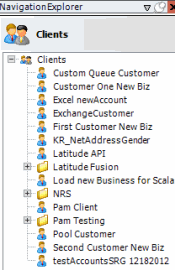
In the Navigation pane, click Clients.

-
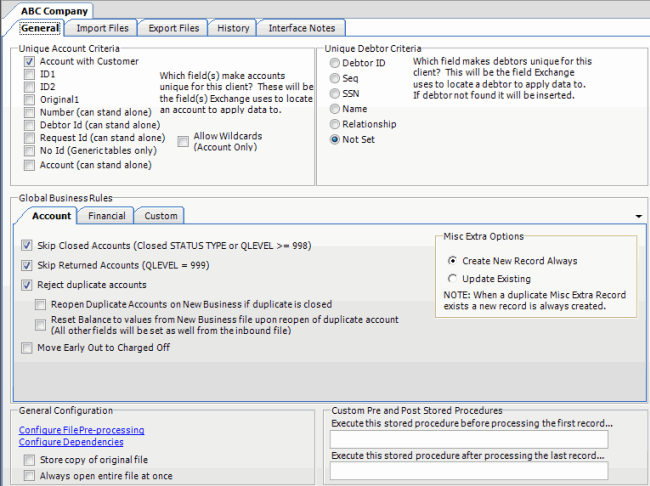
In the Clients pane, expand the appropriate folder and then double-click the client. The tab for the specified client appears in the Information pane.

-
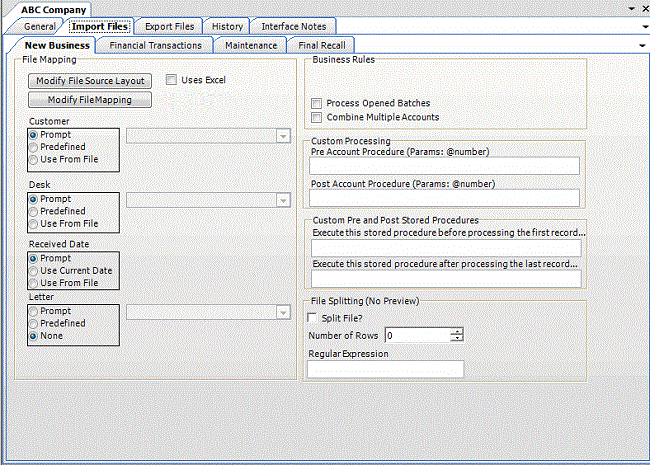
Click the Import Files tab and then click the New Business, Financial Transactions, Maintenance, or Final Recall tab, depending on the import file type.

-
Clear the Uses Excel check box and then click Modify File Source Layout. The Define Import Layout window appears.

-
Click Add Record Type. The New Record Table Name dialog box appears.

-
In the Name box, type the name of the record table (without spaces) and then click OK. The record name appears as a tab in the Define Import layout window.

Name: Name of the table record. Exchange Manager populates this box with the name you specified in the New Record Table Name dialog box.
Key (Reg Exp): Key (regular expression) used to identify which records belong to which record type. For a VirtualHeader record, Exchange Manager populates this box and it's not necessary for you to change it.
Tip: For a list of regular expressions and their usage, click the question mark (?) or see Regular Expression Syntax.
Width: Number of characters contained in the record. Required for fixed-length files; you can leave it blank for delimited files. For a VirtualHeader record, Exchange Manager populates this box and it's not necessary for you to change it.
Type: Type of record. Valid values are:
FileContext: Header or trailer record.
RowContext: Main record, usually repeated. Many import files contain only one record type. If that is the case, this repeated record is the RowContext. Only define one RowContext record type per file. The RowContext record must contain the unique identifier for mapping (as defined on the General tab). This record can stand alone and has no parent. It's used for records such as account and payment.
Note: If multiple RowContext record types exist in the same file, use a virtual header and convert these RowContext records to sub records with the virtual header as the parent record.
Sub: Subordinate record. This record type depends on another record to link to account information and can occur multiple times for the same account (for example, notes, payment, maintenance records). Also specify parent and child relations to link the sub record to its account record. Sub records must follow the parent sequentially when they don't contain a field that links to the parent.
VirtualHeader: Header record used to create a relationship for files containing multiple stand-alone records (that meet RowContext criteria and contain unique account criteria). Set the multiple record types within the file as Sub types. A VirtualHeader allows you to process different sub record types within a file, even if they don’t tie together for the same account. The VirtualHeader is the parent record for the sub record.
Parent Relation: For a sub record, select the parent record and field to link the sub record to. For example, select "A" as the parent record and "Account_Number" as the key field to use to link the sub record to the parent record.
Max Occurs: For a VirtualHeader record, Exchange Manager populates this box and it's not necessary for you to change it. Valid values are:
1 = Record occurs once only. If only one sub record with this name exists for each account, or the record is a header, trailer, or main record, select this value.
* = Multiple records exist. If more than one sub record exists for the same account, select this value.
Child Relation: For a sub record, select the current record and field to match to the parent record. For example, for sub record "B,"select "Account_Number" as the key field even though the Account_Number field does not exist in the sub record. Exchange Manager processes the file sequentially and creates this field "virtually" for every sub record when it exists in the parent record. If you used a VirtualHeader, the unique account criteria field has to exist in each sub record.
-
Click in the first available row in the data grid and then type information for the first field in the record.
Name: Name of the field.
Type: Type of data the field can contain. Valid values are:
String: Text or numeric characters.
Integer: Numbers.
Decimal: Decimal field. Two decimal places accepted by default.
DateTime: Date, time, or both.
Format: Format of the DateTime and Decimal field types only.
DateTime – If you don't use the standard format (MM/DD/CCYY), specify the format used.
M=month, D=day, C=century, Y=year, H=hour, M=minute, S=second (for example, MMDDCCYYHHMMSS)
Decimal – Not required when the file includes a decimal or the last two integers are decimal places. Otherwise:
nodecimalpoint = No decimal point.
signedascii = Signed ASCII RMS format.
nodecimalpointwithsign = Plus or minus sign after integer.
Note: Some input strings that require complicated alteration or parsing before import may require custom programming. For assistance, contact Latitude by Genesys Support.
Width: Maximum length of the data in the field.
-
Complete the information.
-
Press Tab to create a blank row for the next field in the record and complete the information. Repeat as necessary.
Note: For a VirtualHeader record, create one row to represent your record type. The record doesn't have to exist in the file. For example, Name = VirtualHeader, Type = String, Format = blank, and Width = 0. Create a second row for the unique account identifier. For example, Name = AccountNumber, Type = String, Format = blank, and Width = 16.
-
Close the Define Import Layout window.
-
In the toolbar, click Save. The Update Comment dialog box appears.
-
In the Update Comment box, type a comment regarding your changes and then click OK.


