- Contents
Exchange Manager Help
Specify Actions to Run After Exporting
Use the Record Post Execute Actions Form dialog box to specify the actions to run after exporting a file.
To specify actions to run after exporting
-
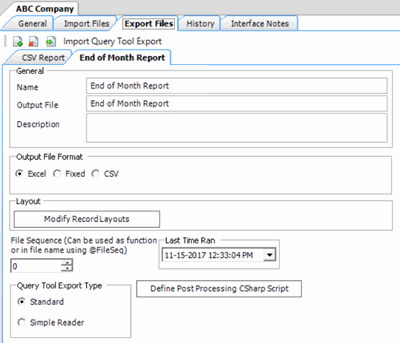
Click the [Export Layout Name] tab on the Export Files tab (for example, End of Month Report).

-
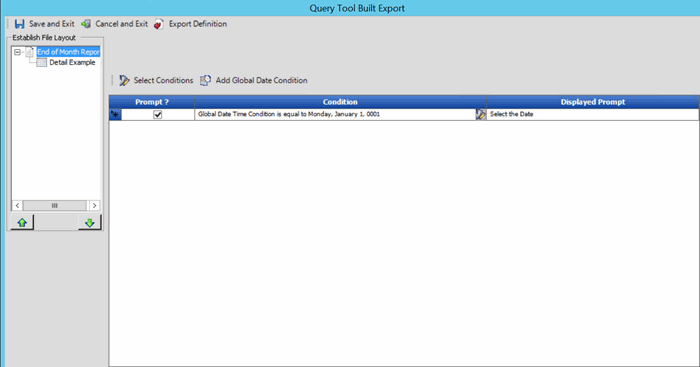
Click Modify Record Layouts. The Query Tool Built Export window appears.

-
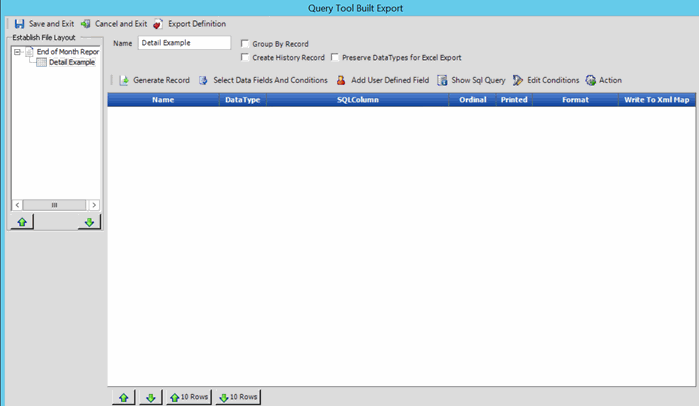
Click the name of the detail record (for example, Detail Example). Information for the detail record appears.

-
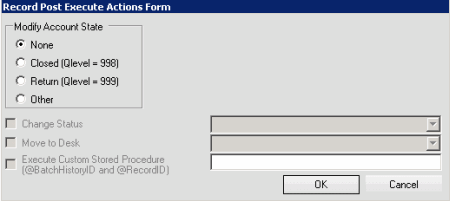
Select the Create History Record check box and then, above the data grid, click Action. The Record Post Execute Actions Form dialog box appears.

None: If selected, Exchange Manager doesn't change the account.
Closed (Qlevel = 998): If selected, Exchange Manager changes closed accounts based on the check boxes you select.
Return (Qlevel = 999): If selected, Exchange Manager changes returned accounts based on the check boxes you select.
Other: If selected, Exchange Manager changes accounts that aren't closed or returned based on the check boxes you select.
Change Status: If selected, Exchange Manager changes the account status to the one you specify in the corresponding box.
Move to Desk: If selected, Exchange Manager changes the desk assignment to the one you specify in the corresponding box.
Execute Custom Stored Procedure: If selected, Exchange Manager runs the stored procedure that you specify in the corresponding box to update accounts.
-
Complete the information and then click OK.
-
In the Query Tool Built Export window, click Save and Exit.
-
In the Clients pane toolbar, click Save. The Update Comment dialog box appears.
-
In the Update Comment box, type a comment regarding your changes and then click OK.


