- Contents
Job Manager Help
Group Accounts
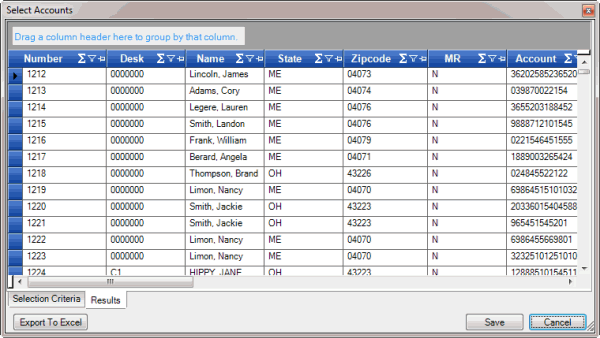
Use the Results tab in the Select Accounts window to group accounts in the query results.
To group accounts
-
With the Select Accounts window open, in the toolbar, click Run. The results appear on the Results tab.

-
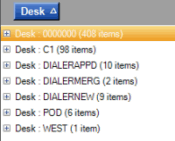
Click a column heading, drag it into the space above the column headings, and drop it. The system groups the accounts on the specified column. The following example shows accounts grouped by customer.

-
To view the accounts in a group, click the plus sign (+) next to the group to expand it.
-
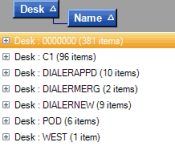
To add a group within a group, do the following:
-
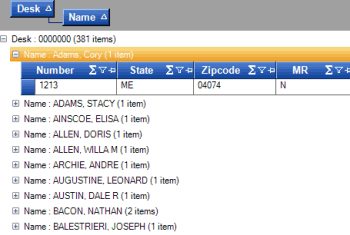
Click the plus sign (+) next to the group to expand it.
-
Click a column heading, drag it into the space above the column headings, and drop it.

-
Click the plus sign (+) next to the group to expand it.

-
The system sorts the groups in ascending order by default. To change the sort for a group, click the group heading.
-
To delete a group, click the group heading and drag and drop it back into the query results space.


