


- Contents
Importing the Off Host Server Signed Certificate and Root CA into the Local Windows
Importing Root CA
Now you will import the Root CA (Trusted Certificate Authority (CA)) Certificate into the local server’s Windows Store.
-
Navigate to the D:\I3\IC\Certitifcates\CSR directory and locate the Root CA Certificate you have copied from CA.
-
Double Click on the file.
-
Select “Install Certificate...” from the Certificate.
-
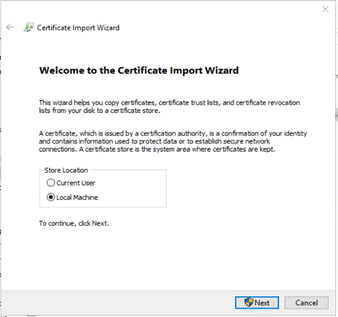
A new window appears, select Local Machine radio button and click on Next.
-
Select Place all certificates in the following store and select Trusted Root Certification Authorities area:

-
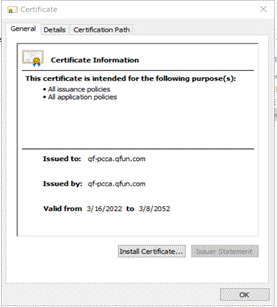
After completing the Import, verify that you have imported the correct Certificate and click Finish.

-
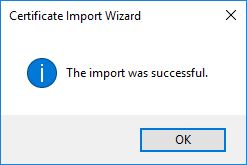
After the successful Import, click OK to close the window.

Importing the Signed Certificate
Now that the Signed Certificate has been signed and converted, you will import the PFX Certificate into the local server’s Windows Certificate Store.
-
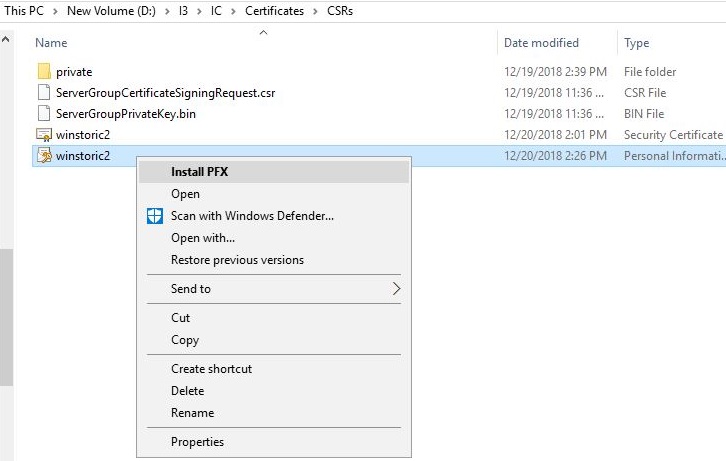
Navigate to the “D:\Program Files\Interactive Intelligence\Certificates\CSRs” directory or whatever CSR directory you have and locate the newly created certificate .pfx file that you performed in the previous steps.
-
Right click on the file, in our example we right-clicked on the “winstoric2.pfx“ file.
-
Select Install PFX from the menu. A new window appears, select Local Machine radio button

-
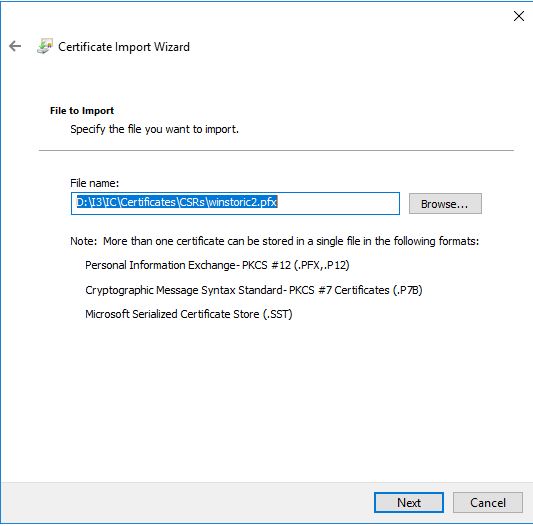
Browse to and specify the file you want to import:
-
Enter the Password, which was created in the step 4 of section “Converting the Signed Certificate for Importing “
Note: you must mark this certificate as exportable or the PureConnect application cannot use or register with this certificate. Please mark the extended properties checkbox as well.

-
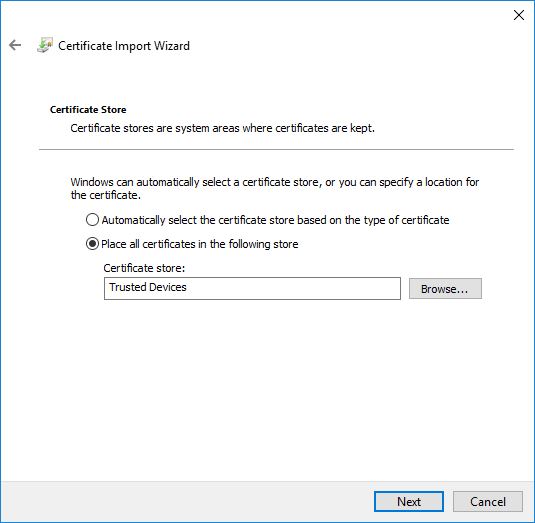
Select Place all certificates in the “Trusted Devices” area:

-
After completing the Import, verify that you have imported the correct Certificate and click Finish.

-
After the successful import, click OK to close the window.