


- Contents
Salesforce Object Routing Server
Add queues to monitor for the Salesforce Object Routing Server
After you have installed the Interaction Routing Queues tab, map Salesforce queue names to CIC workgroup names. To map names, add Salesforce queue names and CIC workgroup names to the Interaction Routing Queues tab. The Salesforce Object Routing Server monitors these Salesforce queues for cases and then routes the cases to these CIC workgroups.
Note: When using two Salesforce organizations, each organization must use different queue names in Salesforce and different workgroup names in CIC. Also, CIC workgroup members cannot belong to both organizations.
To add Salesforce queue names and CIC workgroup names in Salesforce:
-
Click Interaction Routing Queues.
-
Click New.
-
In the Salesforce Queue Name text box, add the name of an existing Salesforce queue. The name of the queue input in the Salesforce Queue Name text box must match the name of an existing queue in Salesforce. The matching is case-sensitive.
-
In the CIC Workgroup Name text box, add the name of an existing CIC workgroup.
The name of the workgroup input in the CIC Workgroup Name text box must match the name of an existing workgroup in CIC. The matching is case-sensitive.
Note: Configure this CIC workgroup as an ACD workgroup. This configuration ensures cases are routed based on certain criteria such as the agents’ availability or skills. Also, configure the workgroup so that members in the workgroup are able to accept email interactions.
-
Leave the QueueID text box blank.
The QueueID text box automatically populates with the ID of the Salesforce Queue Name when you click Save.
-
Click Save.
Add Custom Attribute to monitor additional PureConnect Workgroup Queues
New custom attribute is introduced to enhance the workgroup watch-capability of SORS. With this attribute, SORS subscribes to all the workgroup queues having the special custom attribute. The watchlist is refreshed on an hourly basis. If you want SORS to monitor the newly added workgroup queues immediately, you must restart SORS.
SORS will be watching all potential queues where interactions may exist.
NOTE: If SORS is not watching the target workgroup queue, the Salesforce case will be left unprocessed, and may result in duplicate interactions.
The following instructions must perform on adding a custom attribute to the workgroups, which is also watched by SORS.
A. Adding a Custom Attribute
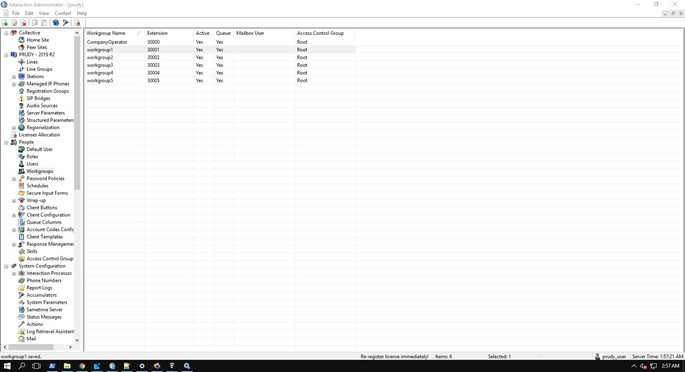
- Click the Workgroup container in Interaction Administrator (IA).
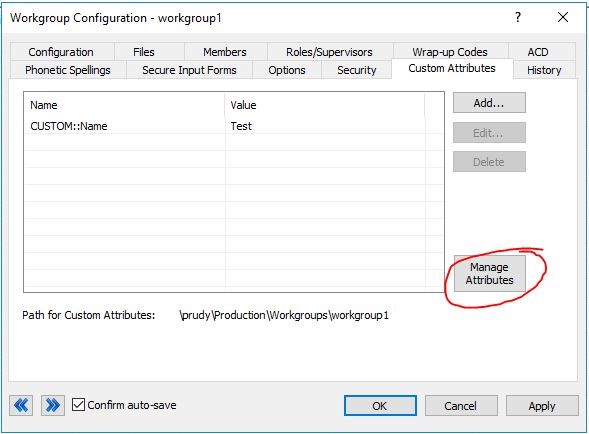
- Double click the workgroup where the attribute must be added. Navigate to the custom attributes tab and click the Manage Attributes button.
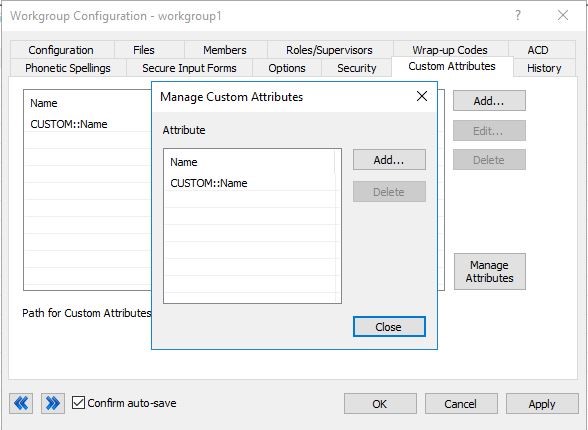
- Click the Add button on the Manage Custom Attribute page.
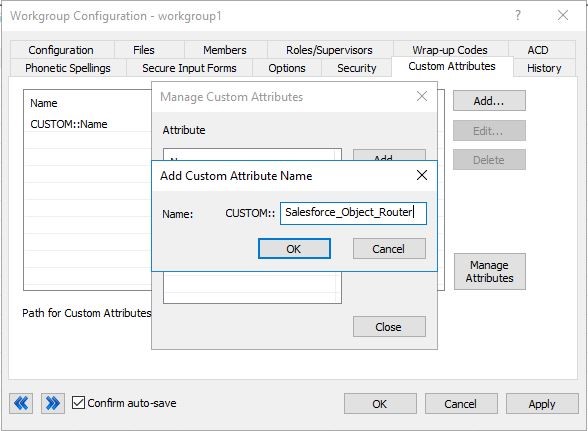
- Type the Salesforce_Object_Router in the Name field and Click OK and then Click Close.
NOTE: Check for case sensitivity of Attribute.
B. Adding / Attaching Custom Attribute with the Workgroup
-
Click the Add button on the Workgroup Configuration page. click the drop-down on the Name field.
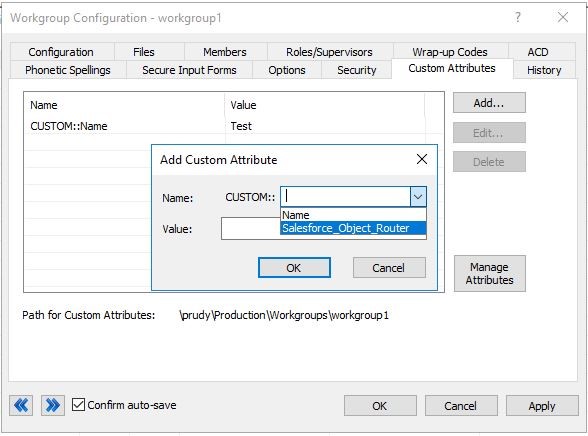
-
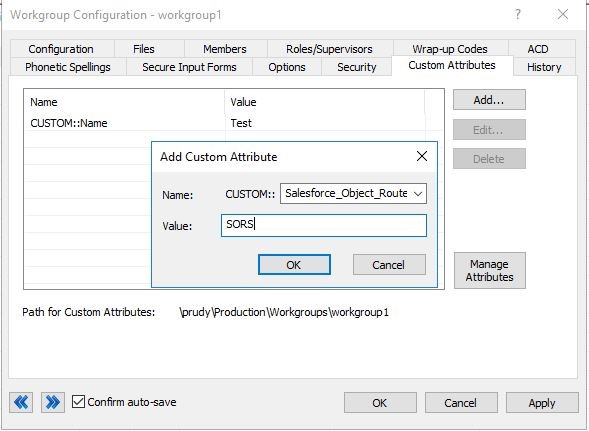
Select Salesforce_Object_Router from the drop-down list. Type SORS under the value field and click OK.
NOTE: Check for case sensitivity in the value field.
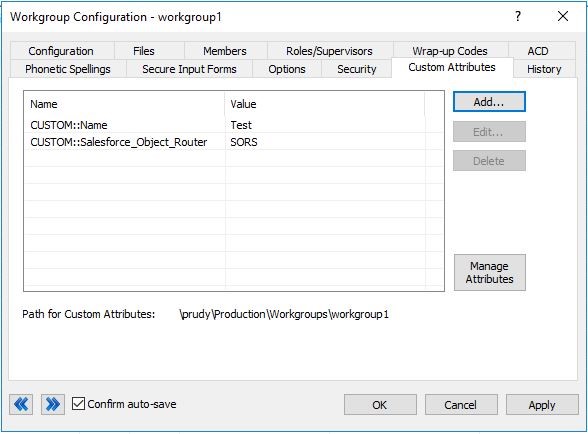
-
click OK.
-
Double click the workgroup where the attribute must be added. Navigate to the custom attributes tab and click the Manage Attributes button.
-
Click the Add button on the Manage Custom Attribute page.
-
Type the Salesforce_Object_Router in the Name field and Click OK and then Click Close.
NOTE: Check for case sensitivity of Attribute.