


- Contents
Interactive Update Technical Reference
Add new updates (automatic)
Once you have created an update directory and added the directory in the Add New Update -> Manage Folders tab, you can choose to have a background service scan the update directory for new updates on a regular basis and automatically add the updates to the local provider in Pre-Approval
[ ] status.
-
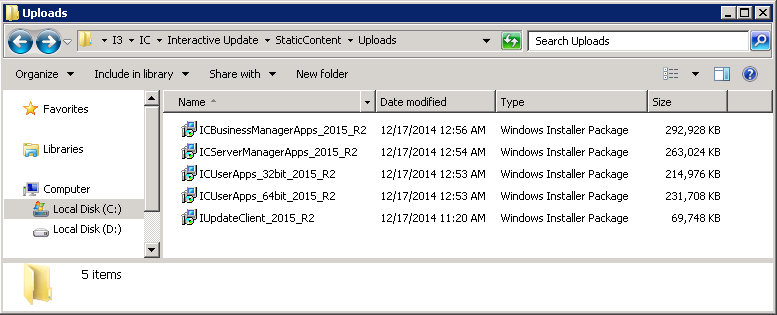
Obtain the appropriate update files from the Product Information site, PureConnect Customer Care, or other means, and copy them to the updates directory. For example:
-
Click the Action drop-down list, select Add New Update, and then click the white and blue arrow [
 ] to the side.
 -
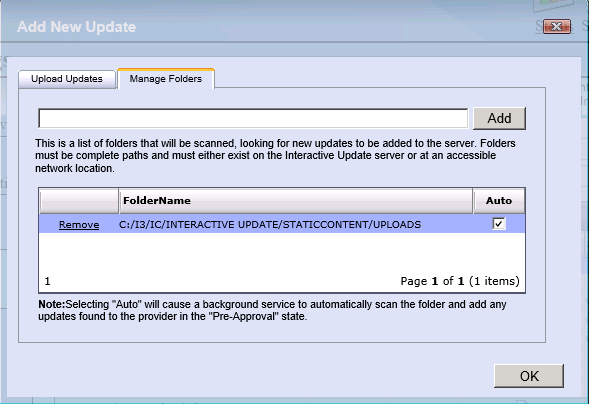
In the Manage Folders tab, select the directory you want to update automatically and check the Auto check box. If you have multiple update directories, check the Auto check box for the directories you want to update automatically.
The updates will be added to the Updates data grid with a Current State of
Pre-Approval
[]. No other steps are needed.
Note:
-
The background service (the Update Content Scanner service) scan takes 90 seconds to begin and has an interval of 60 seconds between scans.
-
Once an update is added to the local provider, it is removed from the updates directory.
-
Make sure to mark the updates as GA when you are ready to push them out for deployment to client machines. See Mark updates to be pushed out to client machines for details.