- Contents
SSO Identity Providers Technical Reference
Manually configure identity provider settings
If the identity provider does not provide a SAML 2.0 metadata file, you must manually configure the CIC server through Interaction Administrator with the settings for that identity provider. This procedure requires the identity provider information that you obtained in Gather identity provider information.
-
Open Interaction Administrator for the CIC server that will serve as the Single Sign-On service provider.
-
Log on to Interaction Administrator with an account that has administrative privileges.
-
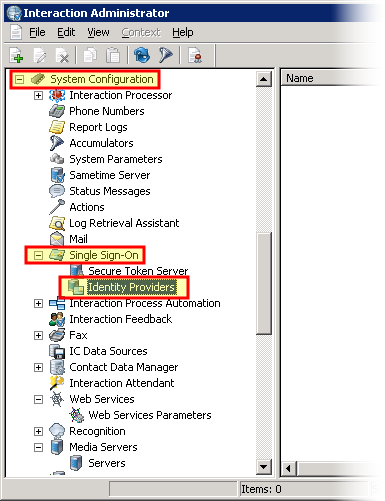
In the navigation pane on the left side of the Interaction Administrator window, expand the SystemConfiguration > Single Sign-On object.
-
Under the Single Sign-On object, select the Identity Providers item.
-
In the right pane, right-click the empty area and select New from the resulting shortcut menu.
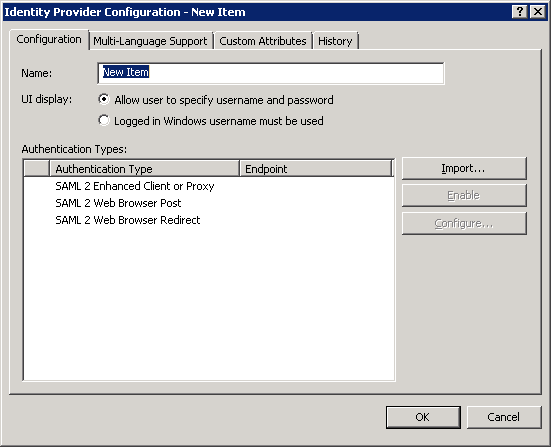
Interaction Administrator displays the Identity Provider Configuration dialog box.
-
In the Name box, enter a name that you use for the identity provider.
The name in this box is only a label and does not need to match a character string from any file or gathered information.
-
Select the Allow user to specify username and password option.
In the Authentication Types list box, select a SAML binding and profile that you will use in your CIC environment and select the Enable button:
-
SAML 2 Enhanced Client or Proxy
-
SAML 2 Web Browser Post
-
SAML 2 Web Browser Redirect
Note: For more information about these SAML bindings and profiles, see Supported SAML bindings and profiles.
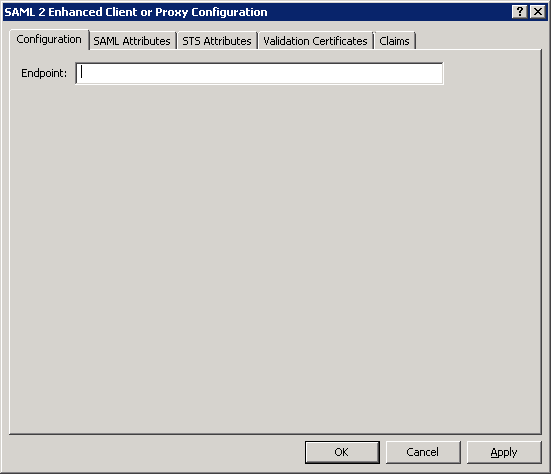
Interaction Administrator displays the Configuration dialog box for the SAML binding and profile that you selected.
Note: If you will use multiple SAML profiles and bindings in your CIC Single Sign-On environment, the identity provider may have a different address to which the client workstation sends SAML <AutnRequest> messages and a separate validation certificate for each SAML profile and binding.
-
In the Endpoint box, enter the address—such as the URL address or FQDN—of the identity provider.
Note: Client workstations must be able to reach the address specified in the Endpoint box.Ensure that appropriate Domain Name Service settings are implemented.
-
Select the Apply button.
-
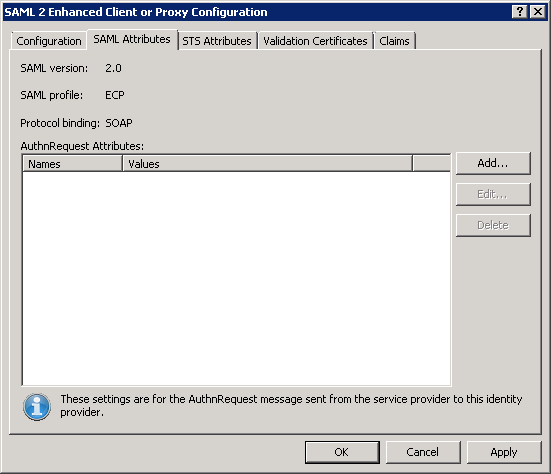
If your identity provider requires SAML authentication requests to be signed or requires specific attributes in SAML authentication requests, select the SAML Attributes tab and do the following procedure.Otherwise, continue to the next step.
Note: Most identity providers
do not require signed SAML <AuthnRequest> messages.Signing
adds the CIC server signature in the message and requires the Trusted
Certificate of the Certificate Authority that signed the following certificate:
\I3\IC\Certificates\ICSecureTokenServer\Default\ICSecureTokenServerCertificate.cer
In most cases, the certificate is self-signed, so the Trusted Certificate
for that certificate would be itself.
-
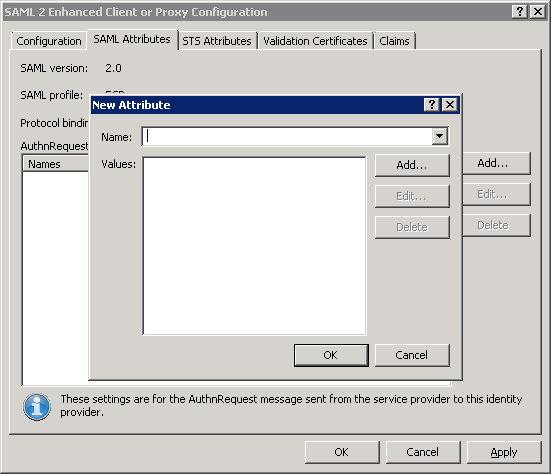
Select the Add button.
The New Attribute dialog box is displayed.
-
In the Name box, enter a required SAML attribute:
Important!
Improperly setting these SAML attributes can cause validation of your SAML
<AuthnRequest> messages by your identity provider to fail.Genesys
recommends that you access, read, and understand the following specification
before attempting to set SAML attributes:
https://docs.oasis-open.org/security/saml/v2.0/saml-core-2.0-os.pdf
|
SAML attribute |
Description |
|
ID |
By default, the CIC server sets the value of this SAML attribute to a unique identifier but you can configure it to contain a specific value. |
|
Version |
By default, the CIC server sets the value of this SAML attribute to "2.0" but you can configure it to contain a specific value. |
|
Destination |
By default, the CIC server sets the value of this SAML attribute to the endpoint of the identity provider but you can configure to contain a different value. |
|
Consent |
By default, the CIC server sets this SAML attribute to the following value: urn:oasis:name:tc:SAML:2.0:consent:unspecified You can configure this attribute to contain a different value. |
|
ForceAuthn |
By default, the CIC server sets the value of this SAML attribute to false but you can configure it to contain a different value. |
|
IsPassive |
By default, the CIC server sets the value of this SAML attribute to false but you can configure it to contain a different value. |
|
AssertionConsumerServiceIndex |
By default, the CIC server does not use this SAML attribute but you can specify a single value as directed by your identity provider. Note: If you specify this SAML attribute, the CIC server will not include the AssertionConsumerServiceURL and ProtocolBinding attributes. |
|
AssertionConsumerServiceURL |
By default, the CIC server sets the value for this SAML attribute to the address you determined in Assertion Consumer Service URL.However, you can specify a different value if required by your identity provider. |
|
ProtocolBinding |
By default, the CIC server sets this SAML attribute to the following value: urn:oasis:names:tc:SAML:2.0:bindings:AuthenticationType AuthenticationType is a variable representing the SAML profile and binding through which the SAML <AuthnRequest> message is sent. |
|
AttributeConsumingServiceIndex |
By default, the CIC server does not include this SAML attribute but you can set it with a specific value, which the CIC server will include in SAML <AuthnRequest> messages to the identity provider. |
|
ProviderName |
By default, the CIC server sets this SAML attribute to the following value: https://CICServerEndpoint:Port/AuthenticationType/login Should your identity provider require it, you can override this value. |
|
NameIDPolicy |
By default, the CIC server does not use this SAML attribute but you can specify a value that the CIC server will send in all SAML <AuthnRequest> messages to the identity provider. |
|
RemoveIssueInstantMilliseconds |
By default, the CIC server sets this value of this attribute to false.You can set the value of this attribute to always be true should your identity provider require it. Note: This attribute is an add-on attribute from Genesys and is not a standard SAML attribute. |
|
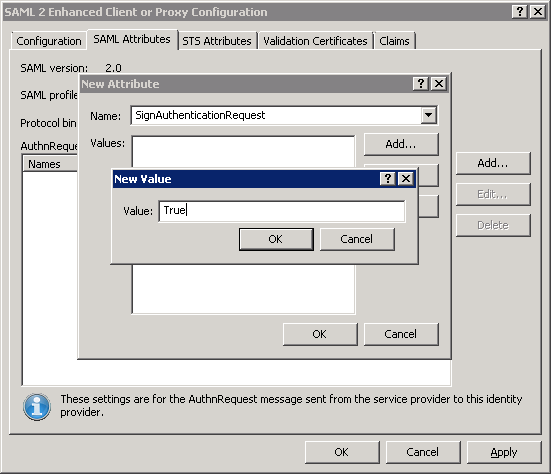
SignAuthenticationRequest |
By default, the CIC server sets the value of this attribute to false but, if your identity provider requires signed SAML <AuthnRequest> messages, you can set this value to true. Note: This attribute is an add-on attribute from Genesys and is not a standard SAML attribute. |
-
Select the Add button.
The New Value dialog box is displayed.
-
In the Value box, enter the required value for this SAML attribute.
-
In the New Value dialog box, select the OK button.
-
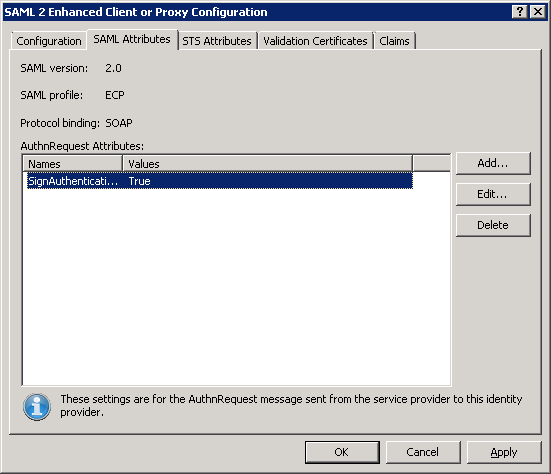
In the New Attribute dialog box, select the OK button.
The attribute and value are added to the AuthnRequest Attributes list box.
-
Repeat steps a through e for any additional SAML attributes that are required.
-
Select the Validation Certificates tab.
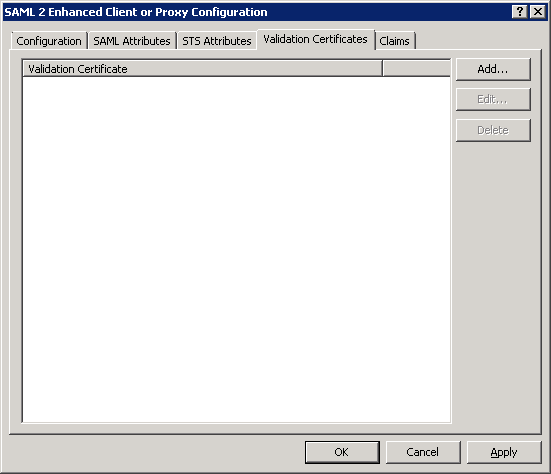
-
Select the Add button.
Interaction Administrator displays the New Validation Certificate dialog box.
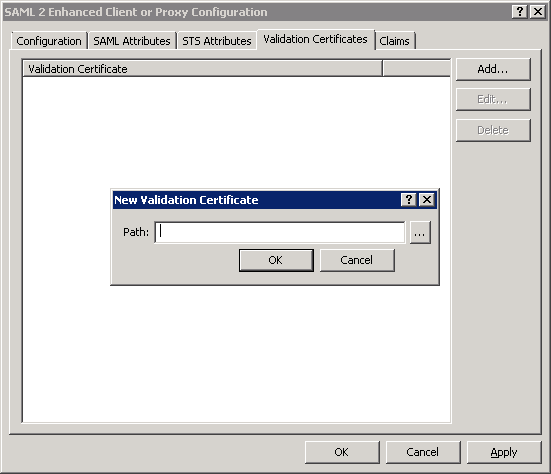
-
In the Path box, enter the location of the validation certificate that you received from the identity provider.
Tip: You can select the button to the right of the Path box to browse for the file.
Important!
The validation certificate from the identity provider must be a valid X.509
certificate or certificate chain and must be in PEM (base-64) format.To
validate the format of the validation certificate, see Ensure
the format of the validation certificates.
-
Select the OK button.
-
Select the Claims tab.
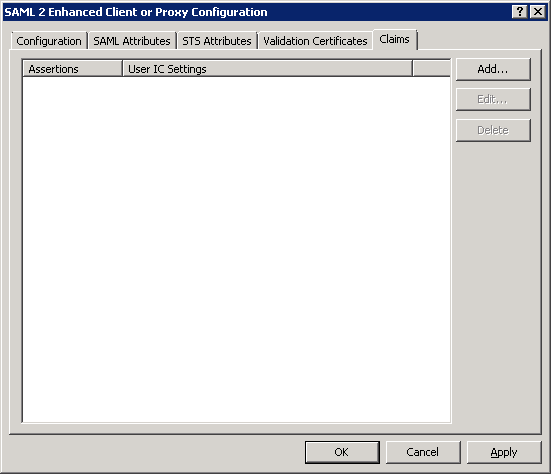
-
Select the Add button.
The New Claim dialog box is displayed.
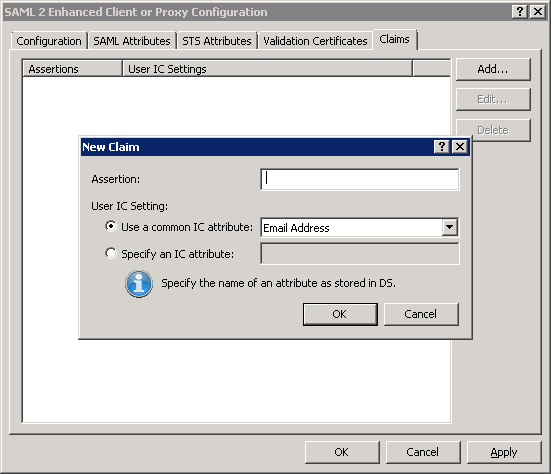
-
In the Assertion box, enter the Name attribute of an <Attribute> element that the identity provider will supply in SAML <AuthnRequest> responses.
Example:
The following SAML claim is common as it represents a Windows user account name:
http://schemas.microsoft.com/ws/2008/06/identity/claims/windowsaccountname -
In the User IC Setting group, select the option that enables you to map the SAML claim to the appropriate CIC attribute:
-
Email Address
-
User ID
-
Windows Domain Account
-
Select the OK button.
The claim is mapped to a CIC attribute and is saved as an entry in the list. -
Repeat steps 16 through 19 for each additional claim that you want to configure.
-
When you have finished adding claims, select the OK button.
|
Option |
Usage |
|
Use a common IC attribute |
Select this option if you want to map the specified SAML claim to a CIC user attribute.Select that CIC user attribute in the list box: These attributes typically exist for each CIC user account. |
|
Specify an IC attribute |
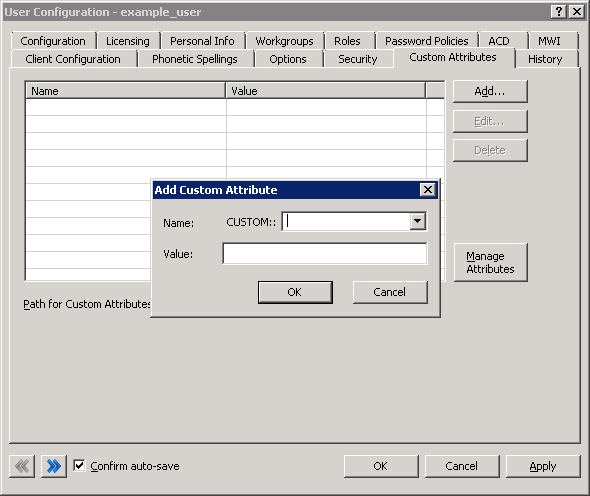
Select this option if you want to map the specified SAML claim to a CIC Directory Services (DS) attribute that you previously defined. CIC Directory Services (DS) contain additional information on users, workgroups, workstations, lines, line groups, and other areas. For a partial list of CIC DS attributes for non-interaction objects, see "Attributes that can be looked up in Directory Services Keys" in Interaction Designer Help.You can also use Interaction Designer Help to find information on Interaction Designer tools that enable you to see the list of existing CIC Directory Services attributes. You can also assign SAML claims to custom CIC user attributes.To create a custom CIC user attribute, double click a user entry under People > Users in Interaction Administration, select the Custom Attributes tab, and then select the Add button.
When you specify this custom attribute in the Configuration dialog box for the selected SAML profile and binding, you must enter it in the following format: CUSTOM::AttributeName AttributeName is a variable that represents the name of the custom CIC user attribute that you defined. You must set the value of this customer attribute for each user entry under People > Users in Interaction Administrator. |