


- Contents
Web Portal Marquee Installation and Configuration Guide
Add the Desktop Experience feature
Note: For Windows Server 2016 and 2019, you specify the Server with Desktop Experience option as part of the Windows Server 2016 and 2019 install. Prior versions of Windows allow you to install this feature post installation.
-
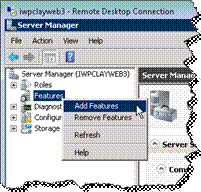
Open Server Manager and right-click the Features node.
-
Select Add Features from the menu that appears.The Select Features dialog box opens.
-
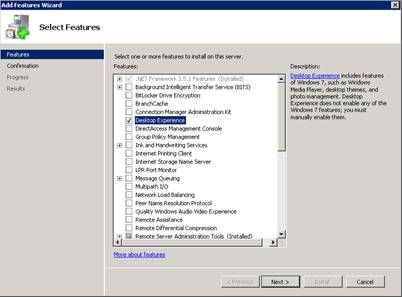
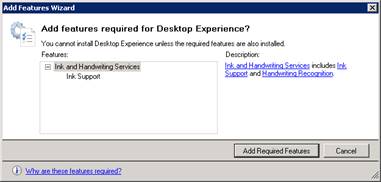
Select the Desktop Experience check box. The Add features required for Desktop Experience? dialog box opens.
-
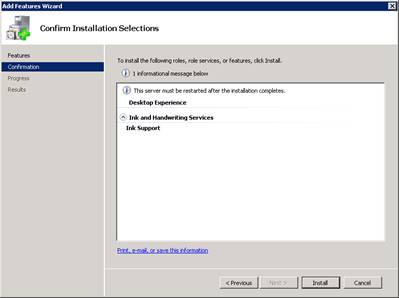
Click Add Required Features, and then click Next. The Confirm Installation Selections dialog box opens and displays a message to restart the server after the system installs the feature.
-
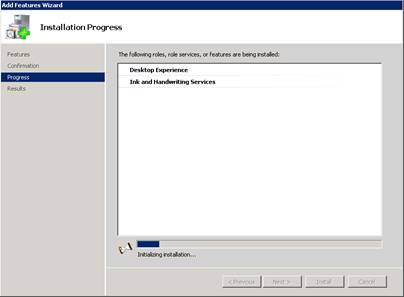
Click Install. The system installs the feature and displays a progress bar showing the status of the installation.
-
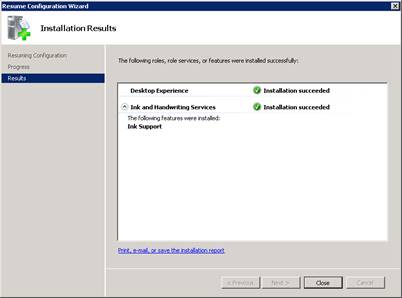
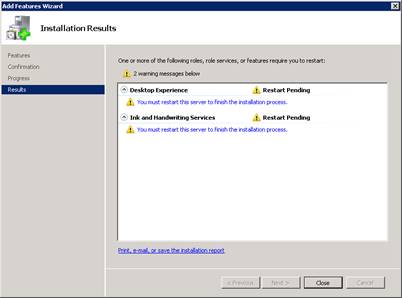
When the installation is complete, the Installation Results dialog box opens and displays a message to restart the server.
-
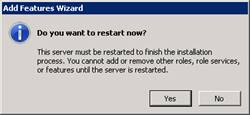
Click Close. A message appears, asking if you want to restart the server.
-
Click Yes to restart the server. When the server restart completes, the Installation Results dialog box reappears with a summary of results. Optionally click the Print, email, or save the installation report link and then click Close.