


- Contents
- Index
Migration Installation and Configuration Guide
Upgrade IC User Applications
Note: The current migration package requires CIC 4.0 SU 3 on the CIC server and workstations. Genesys hasn't updated this example scenario for this requirement.
This section describes how to run Setup.exe to upgrade CIC 3.0 User Applications to CIC 4.0 SU 1 with German and Spanish languages installed.
To upgrade IC User Applications:
-
On the client workstation, click Start.
-
In Search programs and files, type \\servername\ where servername is the CIC 4.0 server name, to view the shares on the CIC server.
-
Double-click the IC User Apps install share appropriate for the workstation from the list, for example IC_UserApps_64-bit.

-
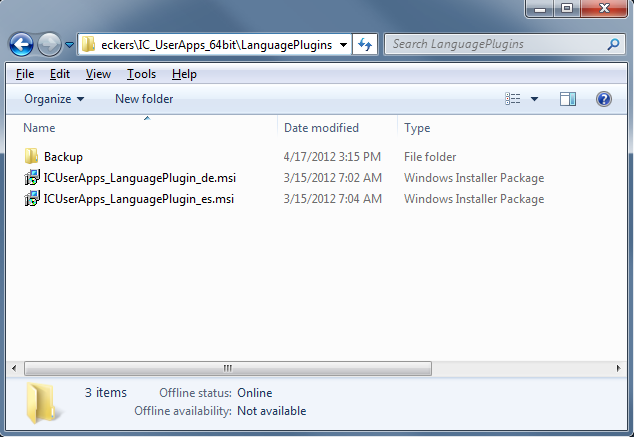
Review the contents of the IC User Apps install share, for example, IC_UserApps_64-bit, and the LanguagePlugins subdirectory.
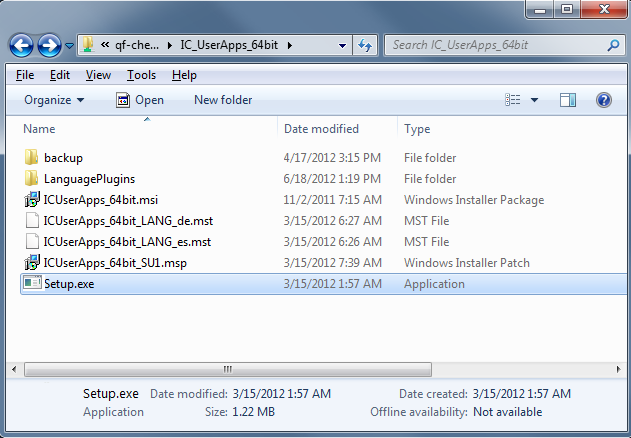
In this example, the IC_UserApps_64bit share contains:
-
Backup directory
-
Language Plugins directory: Contains German and Spanish ICUserApps_LanguagePlugin_de.msi and ICUserApps_LanguagePlugin_es.msi installs
-
The ICUserApps_64bit.msi install
-
The ICUserApps_64bit_SU1.msp SU component
-
German and Spanish localized strings ICUserApps_LanguagePlugin_de.mst and ICUserApps_64bitLanguagePlugin_es.mst for the IC User Apps install GUI
-
The Setup.exe utility
-
-
Double-click Setup.exe in the IC User Apps install share.
-
In the Setup.exe dialog box, in the list box, click the language that you want the IC User Applications install to display in and then click OK.
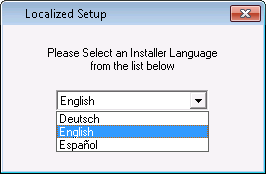
The Language Packs installed on the CIC server determine the languages displayed in the list box. (The list always includes English.) In this example, since the German and Spanish Language Packs are installed on the CIC server, English, German, and Spanish are available to select.
Note: This dialog box appears only in the initial run of Setup.exe in the IC User Apps install share. The next time you run Setup.exe, the IC User Applications install automatically appears in the language you selected the first time you ran Setup.exe.
-
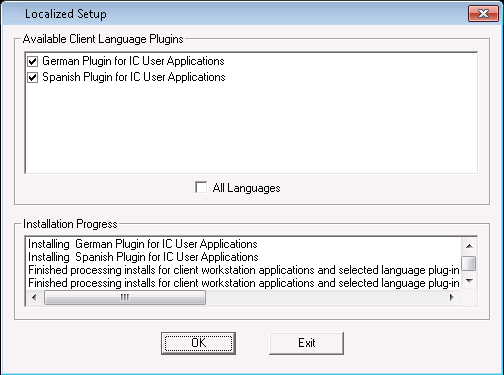
Review the contents of the next Setup.exe dialog box.
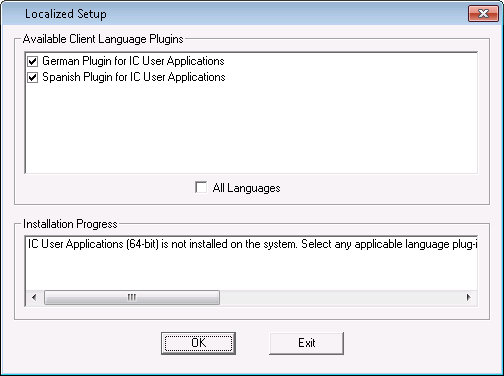
In the CIC 3.0 to CIC 4.0 migration scenario, Setup.exe detects any localized versions of IC User Applications installed previously and pre-selects them in the Available Client Language Plugins box. In this example, the 3.0 German and Spanish versions of IC User Applications are installed and pre-selected.
After Setup.exe starts the 4.0 IC User Applications (64-bit) install, the install uninstalls the 3.0 version of the application. For more information, see About CIC 3.0 or CIC 2015 R1 or later client workstation upgrade installations.
Notes:
-
If you de-select a pre-selected Client Language Plugin, the localized 3.0 version of IC User Applications uninstalls, but the 4.0 version doesn't install. You must re-run Setup.exe to install the 4.0 version.
-
Genesys doesn't recommend selecting the All Languages check box. (If selected, the localized 3.0 versions of IC User Applications uninstall, but the 4.0 versions don't install. You must re-run Setup.exe to install the 4.0 versions.)
-
If you have a localized 3.0 version of IC User Applications installed but the 4.0 Language Pack is not available or not installed on the CIC 4.0 server, Setup.exe uninstalls the localized 3.0 version. You must re-run Setup.exe to install the 4.0 version, when available.
-
-
Click OK to start the 4.0 IC User Applications (64-bit) install.
-
On the Welcome page, click Next.
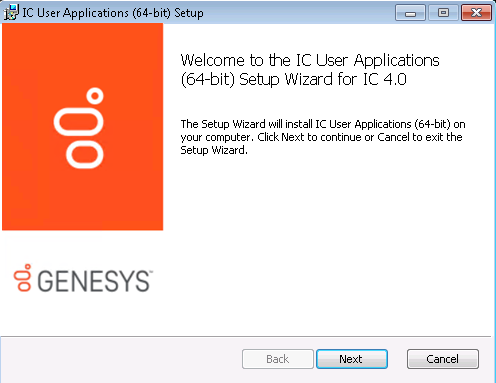
Note: If you are migrating from CIC 2.3.x/2.4 to CIC 3.0, the Remove Previously Installed Client Applications page appears. Click Next to remove the older application versions.
-
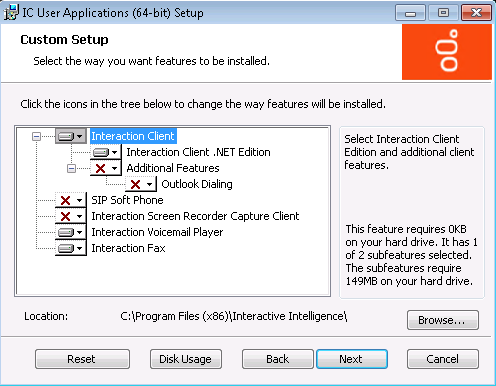
On Custom Setup page, select or clear applications/features as needed and then click Next.
Notes:
-
On a Windows 7 workstation, if you already had SIP Soft Phone, Interaction Screen Recorder Capture Client, or both installed, or if you want to install them now, enable one or both of these applications on the Custom Setup page.
-
On a Windows XP workstation, SIP Soft Phone and Interaction Screen Recorder Capture Client are not available in the Custom Setup page because Windows XP doesn't support them.
-
Genesys recommends that you keep the default location to install the IC User Applications as C:\Program Files(x86)\Interactive Intelligence. To change the default location, click Browse.
-
-
If you selected SIP Soft Phone, Interaction Screen Recorder Capture Client, or both on the Custom Setup page, the QoS Requirement page appears.
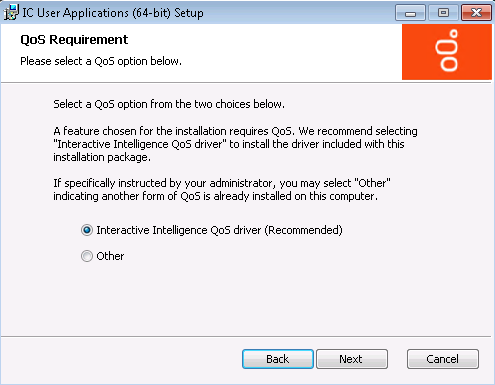
PureConnect QoS driver: This option is the default and recommended option. If selected, the install adds the Interactive Intelligence certificate to the Trusted Publishers list and then installs the driver. In most cases, adding the certificate to the Trusted Publishers list keeps the user from having to trust the certificate manually.
Other: If selected, the system doesn't add the PureConnect certificate to the Trusted Publishers list and doesn't install the driver. Genesys recommends that you do not select this option unless the administrator instructs you to select it. Selecting this option implies use of another form of QoS at the site.
If the system administrator does not allow you to modify the Trusted Publishers list, the Windows Security page appears. The page displays a message, explaining what to do.
For more information about the PureConnect QoS driver, see KB article: https://my.inin.com/Support/Pages/KB-Details.aspx?EntryID=Q131006915300479.
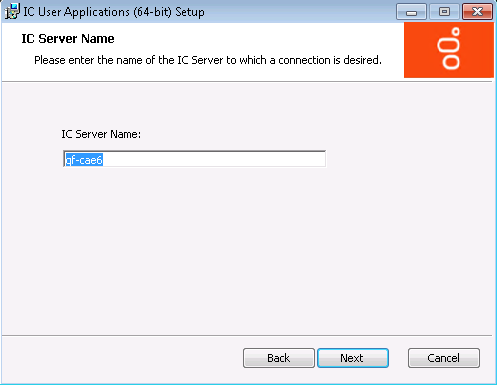
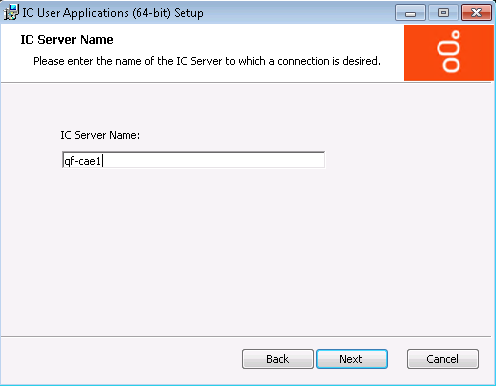
On the CIC Server Name page, the CIC Server Name box contains the host CIC 3.0 server name.
-
In the box, type the host CIC 4.0 server name and then click Next. Genesys recommends using a fully qualified domain name (FQDN), not a short name.
Notes:
-
If you have a CIC Switchover architecture and you created a pair of commonly named DNS A records pointing to each server as part of the IP phone network configuration for managed phones, do not use that common name value here. Instead, use one of the actual CIC server names. Genesys recommends using a fully qualified domain name (FQDN), not a short name.
-
After completing this installation, verify fully qualified domain name (FQDN) resolution to ensure client connectivity with the host CIC server. For more information, see Verify FQDN resolution (IC User Applications).
-
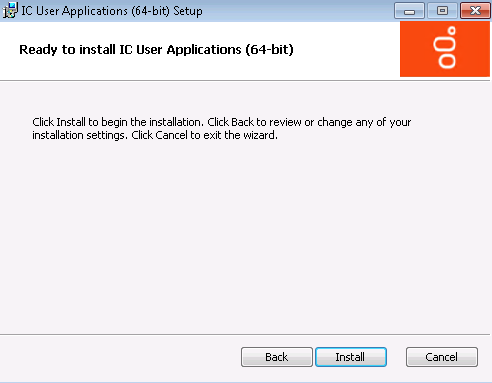
When you are ready to begin the installation, click Install.
As the installation continues, a status bar indicates the progress.
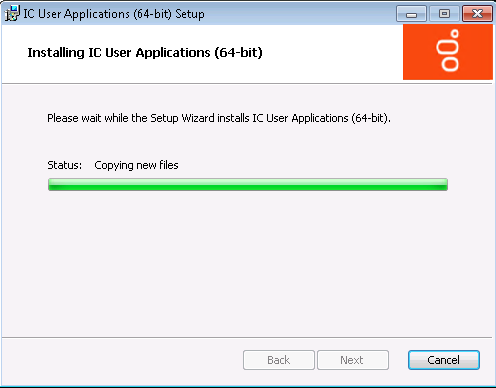
As part of this process, the install uninstalls the 3.0 IC User Applications components. For more information, see About CIC 3.0 to CIC 2015 R1 or later client workstation upgrade installations in Workstation Migration Planning.
-
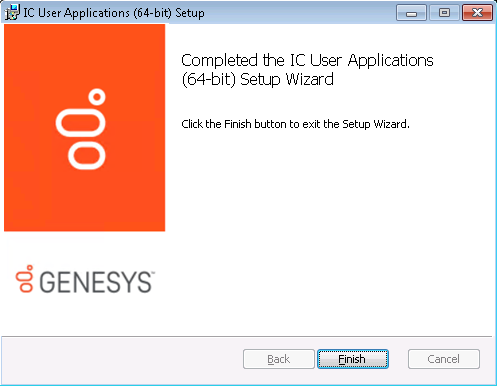
When the installation is complete, click Finish.
-
On the Setup.exe page, review the Installation Progress messages and then click Exit to close Setup.exe.
You can start the IC User Applications from links on the desktop or from Start -> Programs -> Interactive Intelligence.
Note: Since the CIC server name changed from the CIC 3.0 server to the CIC 4.0 server as part of the IC User Applications installation, links to user applications may point to the CIC 3.0 server. Specifying the correct credentials when logging on to these applications the first time after the upgrade should resolve the problem.