


- Contents
CSV List Import Technical Reference
Import a CSV User list in Add Users Assistant in Interaction Administrator
The section describes how to import a CSV User list in Add Users Assistant post-installation in the Users container in Interaction Administrator. For more information about Interaction Administrator, see the Interaction Administrator documentation.
-
Click the Users container, right-click in the right pane, and then click User Assistant and Worksheet….
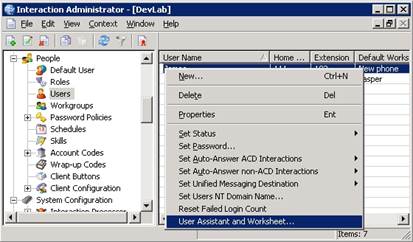
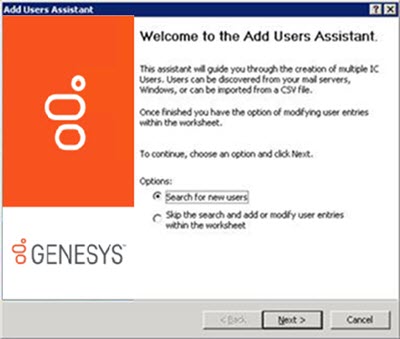
The Welcome page of the Add Users Assistant wizard appears.
-
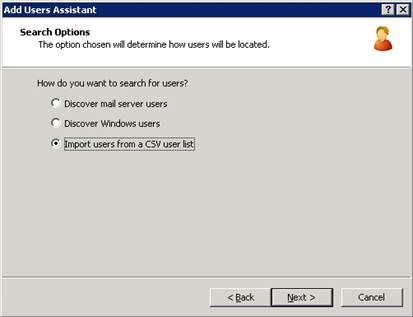
Click Search for new users and then click Next. The Search Options page appears.
-
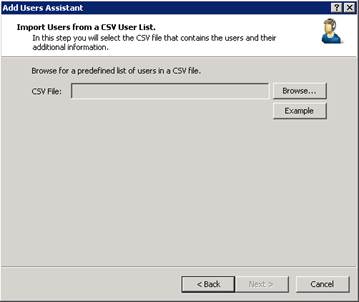
Click Import users from a CSV user list and then click Next. The Import Users from a CSV User List page appears.
-
If you have not already done so, download the CSV user list file to a secure location on the CIC Server.
-
Click Browse...
-
Locate your CSV file on the CIC Server and select it. The path and file name appear in the CSV File box.
-
Click Next. If the wizard encounters errors while parsing the CSV file, a warning message appears.
-
To view the status and description of the errors, click Errors.
-
Warning error: Add Users Assistant cannot verify one or more values. You can continue with the import, but some of those values won't import.
-
Severe error: Add Users Assistant detects no columns in the file or it couldn't open the file. You cannot continue with the import.
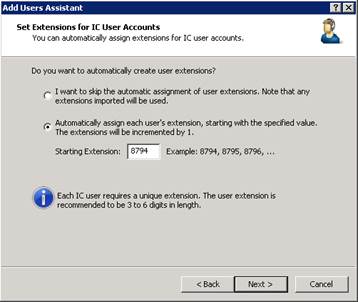
- Correct the errors in the CSV file and then click Next to continue with the import. The Set Extensions for IC User Accounts page appears.
-
Do one of the following:
-
To create user extensions automatically, click Automatically assign each user's extension, starting with the specified value and then specify the starting extension number.
-
To skip the assignment and use the imported extensions, click I want to skip the automatic assignment of user extensions.
-
Click Next. The Set Passwords for IC User Accounts page appears.
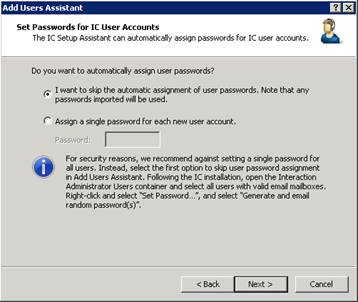
Note: For security reasons, Genesys recommends that you use the Set Password feature after the user import; however, you can choose to assign a single password for each new user.
-
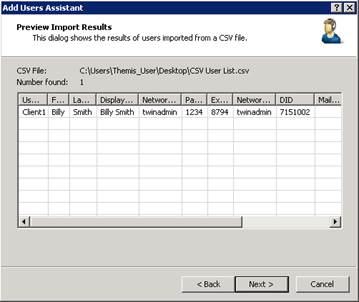
Click Next. The Preview Import Results page appears.
-
Review the results of the imported CSV user list and then click Next. The Completing the Add Users Assistant page appears.
-
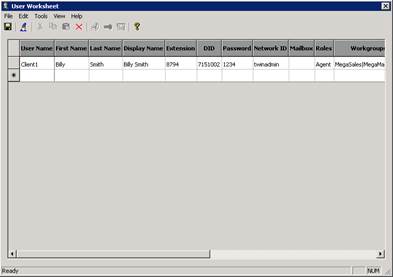
Click Finish. The User Worksheet appears, which allows you to add more users, modify user attributes, or delete users.
-
To add, modify, or delete a user, do the following:
-
To add a user, type the user attributes in a blank row in the data grid.
-
To modify a user, type over the text in the cell of the user attribute to modify.
-
To delete a user, click the user row and then, in the toolbar, click the Delete icon.
-
Save your changes and close the worksheet.
Note: You can also run the Add Users Assistant again.