


- Contents
Data Privacy Request Tool Administrator's Guide
Use the PureConnect Data Privacy Request Tool
To use the PureConnect Data Privacy Request tool to anonymize PII data in the PureConnect database:
-
Start the PDPR tool
-
Connect to the database
-
Search for relevant PII data
-
Generate a report to show the data that will be anonymized
-
Select the records to anonymize, replacing PII data with "XXXX" characters
-
Enter a service request number
No additional license is required to run this tool.
Start the PDPR tool
-
Open the folder where the PDPR_XXX.zip file was extracted and open the Release folder.
-
Double-click on the PDPRMTool.exe file to start the tool.
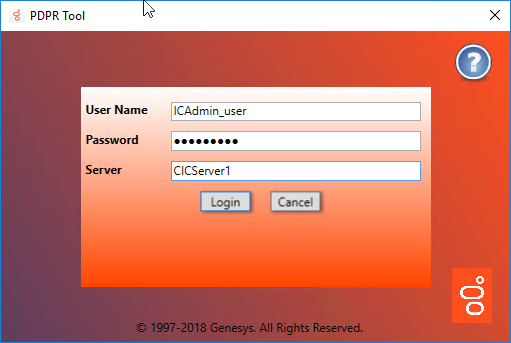
The PDPR Tool login dialog appears.
Note: The PDPR Tool requires Master Administrator and View User Queue access rights to log in and anonymize data.
Connect to the database
For sites using Microsoft SQL Server, a CIC Administrator with appropriate access rights can log in with the appropriate CIC user name and password and the name of the primary CIC production server.
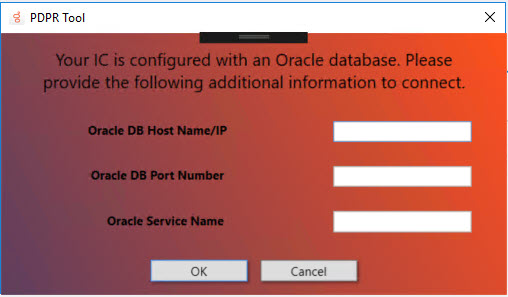
For sites using Oracle, the CIC Administrator or the DBA must also provide the Oracle database host name or IP address, the Oracle database port number, and the Oracle service name.
Once the credentials are validated, the main PDPR Tool interface appears.
Search for relevant PII data
PII fields for PureConnect, Dialer, Recorder, Quality Manager, Analytics and Tracker products in the database are listed in Chapter 9: General Data Privacy Regulations (GDPR) in the PureConnect Security Precautions Technical Reference document (requires login to access).
You can search for individual (single) records or multiple records at the same time.
Single Request
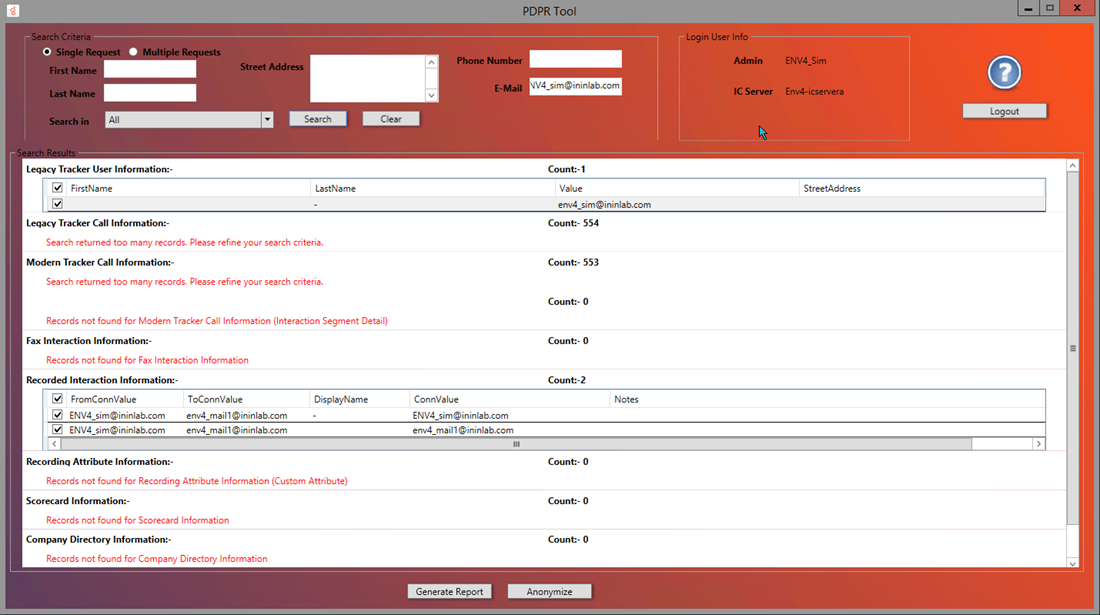
Select the Single Request option and enter known PII data in the named fields, then click the Search button to return records with PII data to anonymize.
The First Name, Last Name, and Street Address fields cannot be used alone; each of those fields requires at least one additional field to have a value to search.
Note: Version 2.2.0 introduced a variable "TrackerEnabled" in the PDPRTool.exe.config file, which is set to "true" in the default case that all user data is included in the database. You can set "TrackerEnabled" to "false" when tables do not include user information such as First Name, Last Name and Address. If "TrackerEnabled" is set to "false", be sure to include email and phone number data in the search criteria, for better performance.
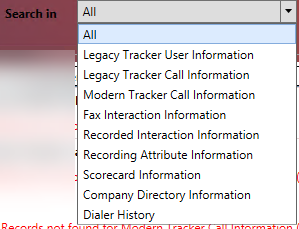
You can limit the search to the particular database table that contains the type of data you are searching for. The Search In drop-down list lets you scope the search to that part of the database.
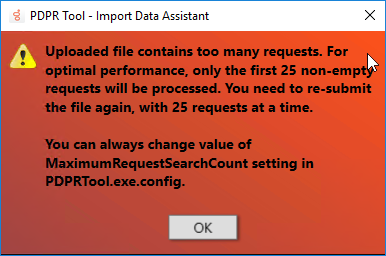
By default, the PDPR Tool limits search results to 400 rows. If your search exceeds that amount, the tool displays a message "Search returned too many records. Please refine your search criteria."
The search results limit is set in the PDPRTool.exe.config file, which is in the directory with the PDPRToolM.exe file. Edit this .config file to change the MaximumRowsBindToGrid value to a larger number, restart the PDPR Tool, and run the search again.
Multiple Request
To search for more than one user's PII data request at a time, click the Multiple Request option and use the built-in spreadsheet template to populate with multiple rows of user data.
-
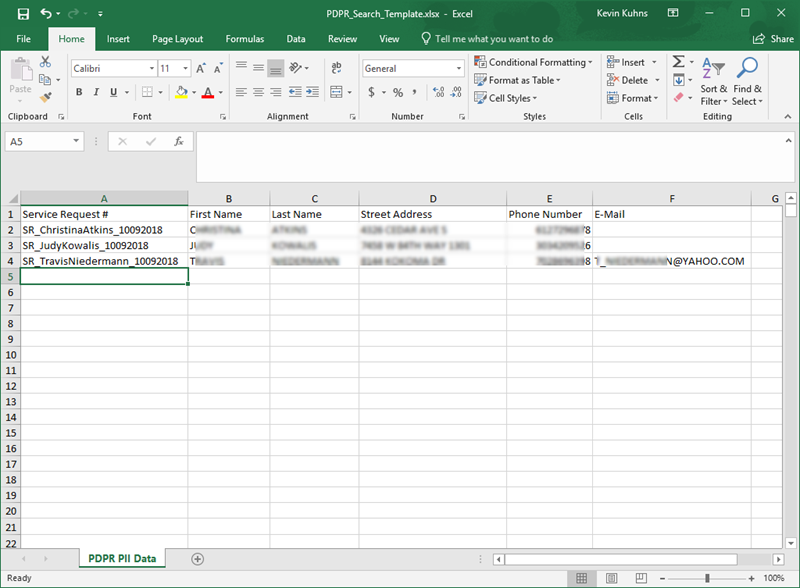
Click the Download File Template... button to download the built-in PDPR_Search_Template spreadsheet to the Downloads folder on the local computer.
-
Open the PDPR_Search_Template.xls file and add the PII data for multiple requests - one request per row. Note the following guidelines.
Click hear to see guidelines for using the PDPR import template.
-
When finished, click the Upload Data File... button to load the PII data for validation. If the data in the spreadsheet meets the expected form, you see a confirmation message. If the data in the spreadsheet is not valid (for example, missing column headings or incomplete data), you see an error with an indication of what to fix.
-
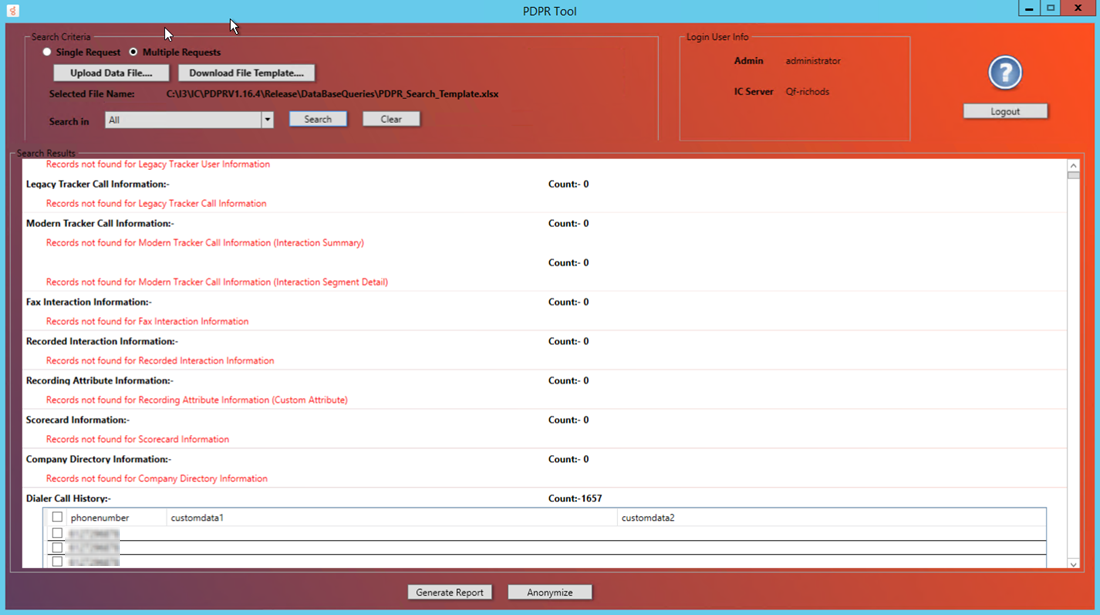
Click the Search button to start the search. The search time for multiple records is longer than the search time for a single request.
Generate a report
From the same screen with Search Results, click the Generate Report button to create a report and save it to a specified location. The report contains the PII data found in the selected tables. Once the data is anonymized, it will no longer be able to selected and included in a report.
Note: Both the spreadsheet you create and the generated report contain PII data. It is your responsibility to protect that data and purge or delete these files, or to handle them appropriately, once the anonymization work is complete.
Select records and anonymize data
Select the record(s) that you want to obfuscate and click the Anonymize button. If you are confident to proceed with the change, click Yes on the confirmation dialog box. If this is a Single Request, you will have another opportunity to cancel the operation after you click Yes, when you enter the service request number. If this is a Multiple Requests operation and you added the service request number in the spreadsheet, you will not have another chance to cancel this operation. Once the records are obfuscated, you cannot reverse it.
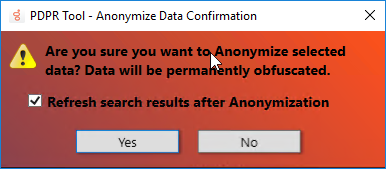
Note: By default, the PDPR Tool refreshes the search results to show that the data no longer appears in the search, and this refresh can add time to the operation. Clear the Refresh search results after Anonymization check box to prevent the search refresh. You can change the default value for this check box by editing the PDPRMTool.exe.config file and changing the RefreshGridPostAnonymization parameter value from true to false. Restart the tool after updating the .config file to see the changes.
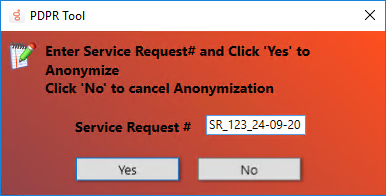
Enter a service request number
In the case of a Single Request, you must enter a service request number and click Yes to anonymize the selected data. Click No on the Enter Service Request dialog to cancel the anonymize operation.
The service request number entry is not validated, so it can contain any numbers or characters from your CRM system or other system used to track and audit GDPR compliance requests. PureConnect Cloud customers who open a Data Privacy support ticket will have that ticket number added as the Service Request number, which is stored with other related data in the Audit Trail table in the PureConnect database.
If you attempt to search again for the modified PII data, the PDPR Tool will not return any results.
Related Topics: