


- Contents
Interaction Recorder Technical Reference
IC User Applications (64-bit) Setup Wizard installation
After the CIC installation, run the IC User Applications install on client workstations that require screen recording capability.
-
If you have not done so already:
-
Download the CIC 2018 R2, or later, .iso file from the Product Downloads page at https://help.genesys.com/pureconnect/secure/Downloads.aspx
-
Copy the .iso file to a file server (non-CIC server) with a high-bandwidth connection to the workstation(s) on which you will be running the CIC 2018 R2 or later installs.
-
Mount the .iso file and share the contents to make them accessible to the workstation(s) on which you will be running the CIC 2018 R2 or later installs.
-
-
Navigate to the \Installs\ServerComponents directory on the file server.
-
Copy the IC User Applications .msi file, for example, ICUserApps_64bit_2018_R2.msi, to the workstation on which you plan to run this install and double-click to launch it.
-
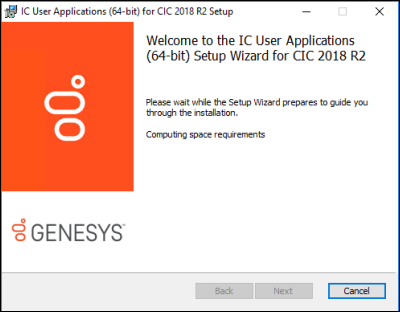
The IC Business Manager Application Setup wizard starts.
-
On the Welcome screen, click Next. As Setup wizard guides you through the installation, the Custom Setup screen is displayed.
-
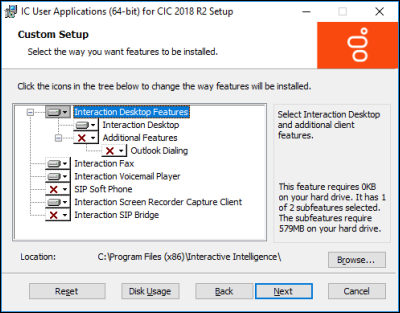
On the Custom Setup screen, select the way you want features to be installed. Click the Interaction Screen Recorder Capture Client icon.
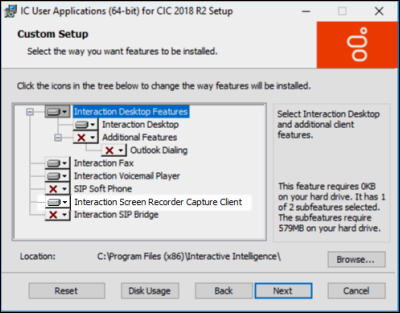
The installation options are displayed.
Note:
When you click Next, the QoS Requirement screen might be displayed, recommending you select the PureConnect QoS driver. See "QoS feature requirement" for more information.
-
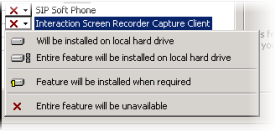
Select Entire feature will be installed on local hard drive, and click Next.
The IC Server Name screen is displayed.

-
On the IC Server Name screen, type the name of the IC Server in the IC Server Name box, and click Next.
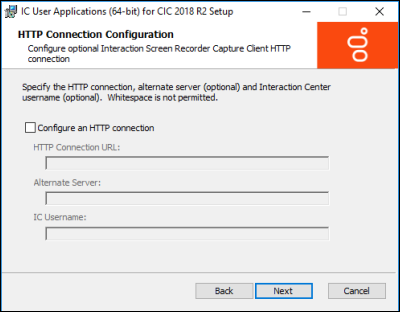
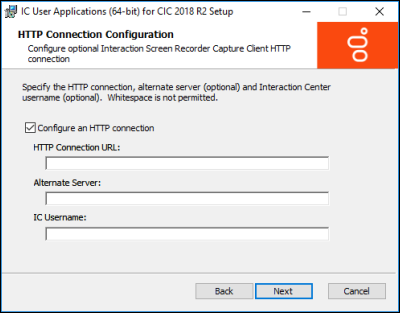
The HTTP Connection Configuration screen is displayed.
-
To specify the options for the HTTP connection, select the Configure an HTTP connection check box. The HTTP connection options are available. Do not use spaces when entering options.
-
HTTP Connection URL - Specify the HTTP connection URL in the form
https://SERVER:PORT -
Alternate Server - You can optionally specify the name of the alternate CIC server
-
IC Username - You can optionally specify an IC username for the agent requiring screen recording.
Click Next. The Ready to install IC User Applications screen is displayed.

-
-
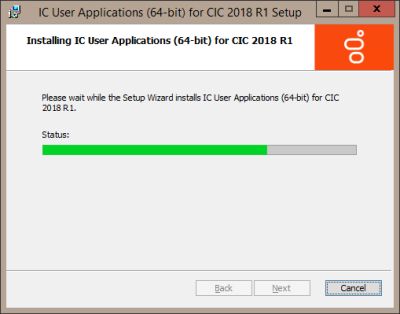
On the Ready to install IC User Applications screen, click Install.
The Installing IC User Applications screen is displayed.
-
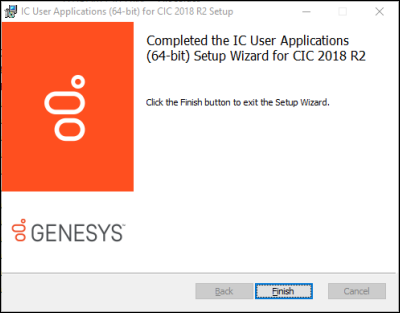
Setup Wizard installs IC User Applications, including the Interaction Screen Recorder Capture Client. When the installation is complete the Completed the IC User Applications Setup Wizard screen is displayed.
-
Click Finish to exit the Setup Wizard.