- Contents
Exchange Manager Help
Add a Generic Table to the Destination Schema
Use the Select Table dialog box to add a generic table to the destination schema. For more information, see Generic Tables.
To add a generic table to the destination schema
-
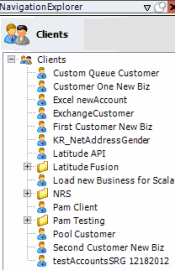
In the Navigation pane, click Clients.

-
In the Clients pane, expand the appropriate folder and then double-click the client. The tab for the specified client appears in the Information pane.

-
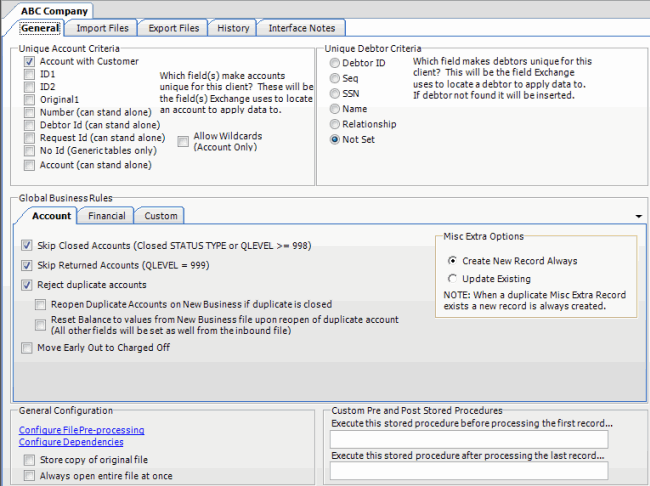
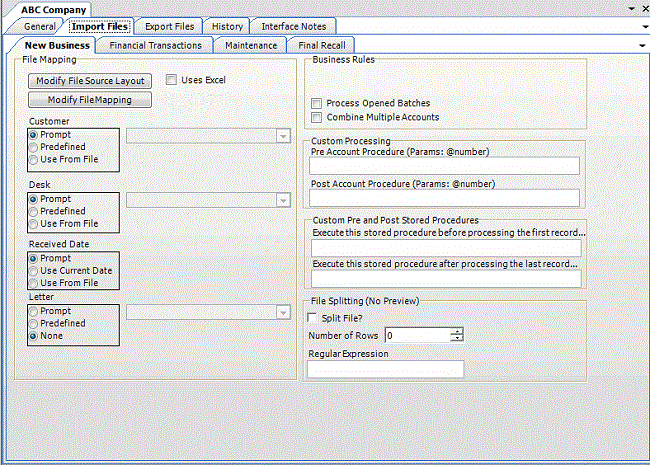
Click the Import Files tab and then click the New Business, Financial Transactions, Maintenance, or Final Recall tab, depending on the import file type.

-
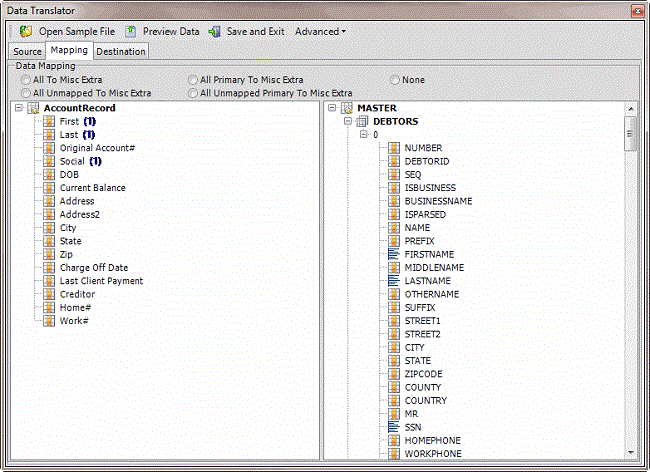
Click Modify File Mapping. The Data Translator window appears.

-
In the menu bar, click Advanced > Add Generic Table to Dest Schema. The Select Table dialog box appears.

-
In the Table list box, click the table to add and then click OK. Exchange adds the table to the Mapping tab.


