- Contents
Exchange Manager Help
Define a Destination Field Value Using Hardcoded Text
Use the Define Destination Field Value dialog box to add hardcoded text to a value in the source field before storing it in the destination field.
To define a destination field value using hardcoded text
-
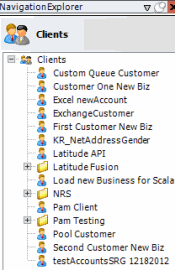
In the Navigation pane, click Clients.
-
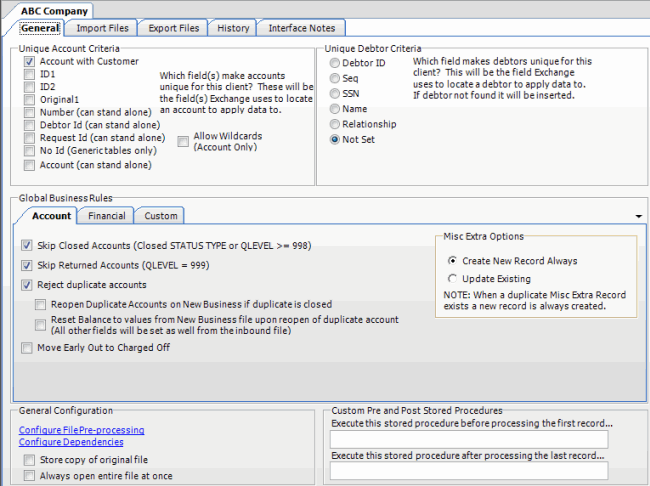
In the Clients pane, expand the appropriate folder and then double-click the client. The tab for the specified client appears in the Information pane.
-
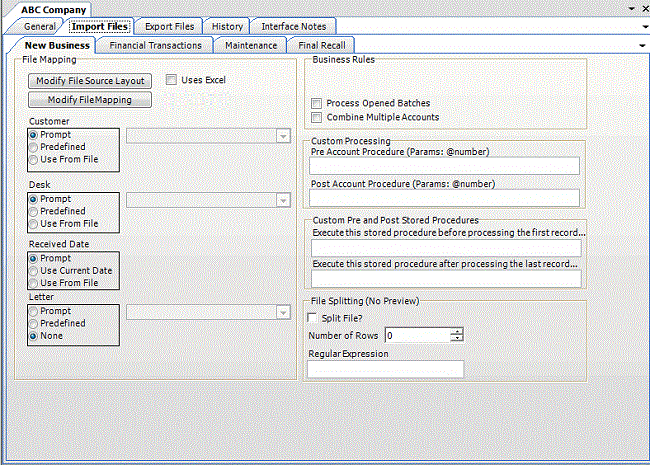
Click the Import Files tab and then click the New Business, Financial Transactions, Maintenance, or Final Recall tab, depending on the import file type.
-
Click Modify File Mapping. The Data Translator window appears.

-
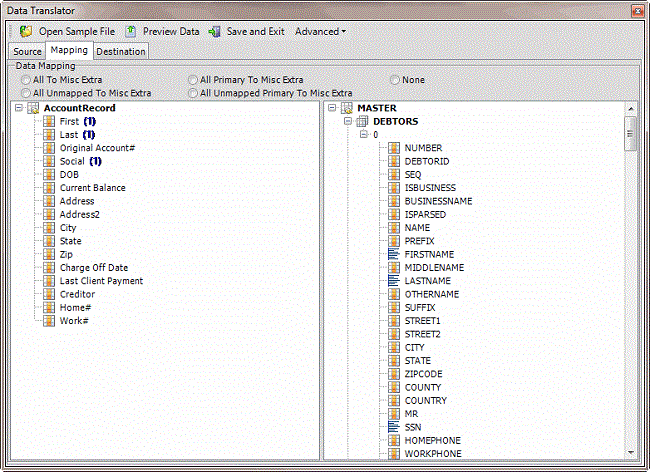
Click the Mapping tab.
-
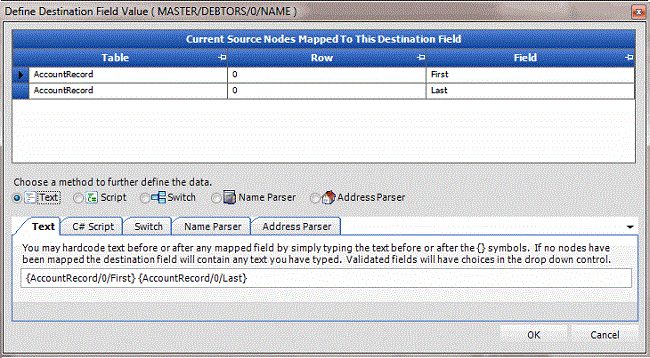
In the Destination pane, double-click a mapped destination field. The Define Destination Field Value dialog box appears.
-
Click Text. The Text tab appears.

-
Type one or more characters before, between, or after the bracketed source field names. For example:
-
The following format inserts a comma between the values in the LAST and FIRST name fields:
{AccountRecord/0/Last},{AccountRecord/0/First}
-
The following format inserts "PC" after the value in the PaymentType field.
{PaymentType} PC
Note: Do not modify the information within the brackets {}.
-
Click OK.
-
In the menu bar, click Advanced and then click Save Mapping Definition. The Save As dialog box appears.
-
In the File name box, type a name for the file and then click Save.


