- Contents
Exchange Manager Help
Define Multiple Row Handling
Use the Row Definition dialog box to define how to select a field when it exists in multiple rows. The Row Definition dialog box appears when you map a field in a flat file (fixed or delimited) where you set a subordinate record to MaxOccurs = *. In these cases, you specify which row to use, or identify which rows represent a valid occurrence of the record and create a new row in the table.
Note: Only define automatic row creation criteria for one field within the record. The Row Definition dialog box only appears for the first field you map.
To define multiple row handling
-
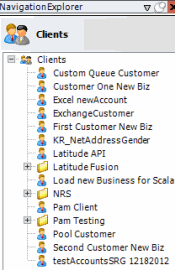
In the Navigation pane, click Clients.
-
In the Clients pane, expand the appropriate folder and then double-click the client. The tab for the specified client appears in the Information pane.
-
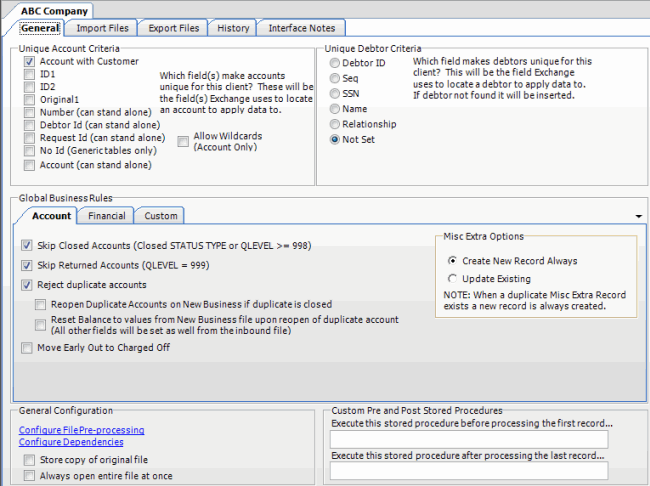
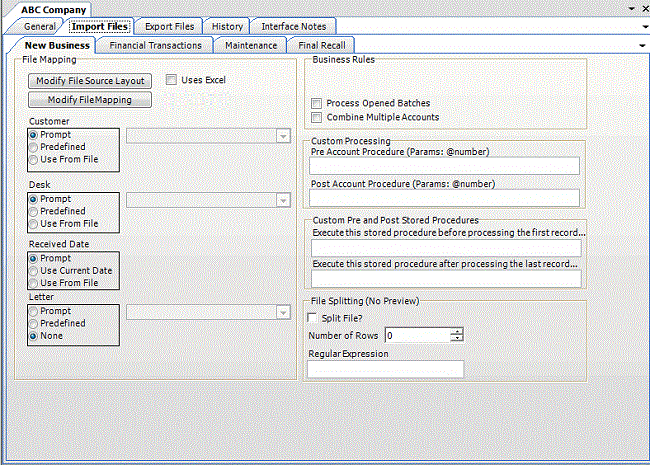
Click the Import Files tab and then click the New Business, Financial Transactions, Maintenance, or Final Recall tab, depending on the import file type.
-
Click Modify File Mapping. The Data Translator window appears.

-
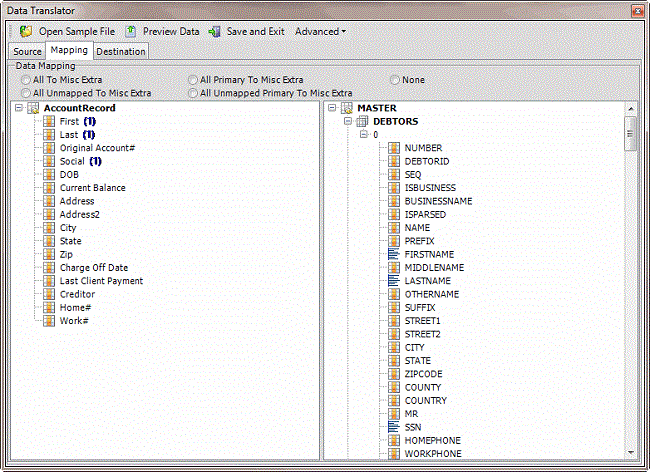
Click the Mapping tab.
-
In the Destination pane, expand a table (for example, Debtors) and then expand a record (for example, 0).
-
In the Source pane, drag a source field to a destination field in the Destination pane. The following example creates a note record for rows in a flat file. This file can contain multiple rows for the Notes2 record for each account. The criterion creates a record for Notes2 rows that have data in the Description field.
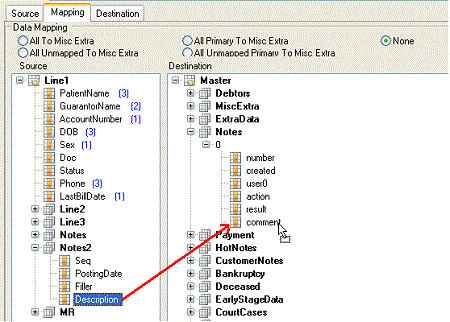
After mapping a field that exists in multiple rows, the Row Definition dialog box appears.

By Row Number: If selected, Exchange Manager selects the field based on the specified row number.
By Column Value: If selected, Exchange Manager selects the field based on the specified field and its specified value.
For Each Row: If selected, Exchange Manager creates rows dynamically based on the number of rows and the data in the row. The blank box represents a WHERE clause. You can use it to verify that data exists in the row before creating a record (<> ""). You can also specify a qualifier in the WHERE clause box. For example, "Seq < 5" tells Exchange Manager to add as records all rows containing a number less than 5 in the Seq field.
-
Complete the information and then click OK.


