- Contents
Exchange Manager Help
Filter Records
Use the Define Context Rows dialog box to specify a SQL statement to limit which records to import. You can apply the SQL statement at the Master row level or in subsequent table rows.
Note: Custom row filters applied at the Master table level can reference any destination field. Custom row filters applied at any other table level (for example, Debtors, Misc Extra, Notes) must reference a column within that table.
To filter records
-
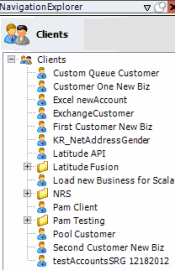
In the Navigation pane, click Clients.

-
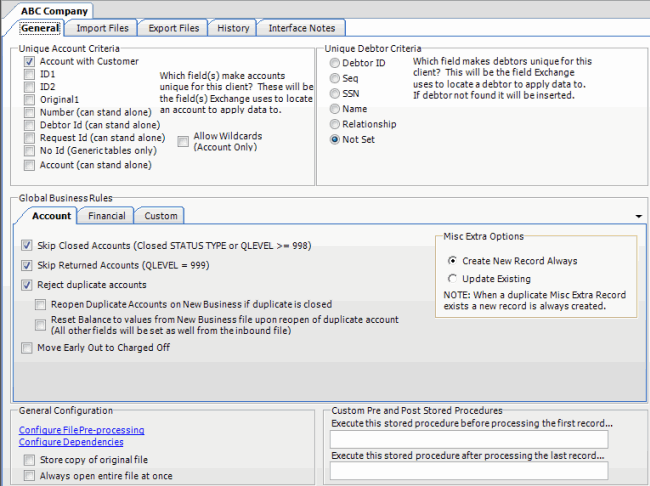
In the Clients pane, expand the appropriate folder and then double-click the client. The tab for the specified client appears in the Information pane.

-
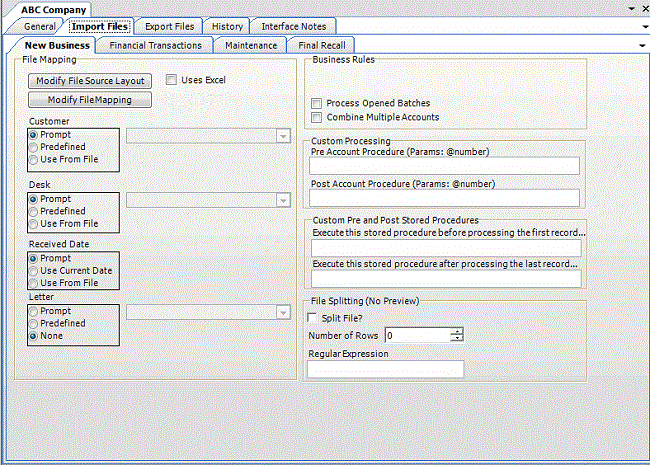
Click the Import Files tab and then click the New Business, Financial Transactions, Maintenance, or Final Recall tab, depending on the import file type.

-
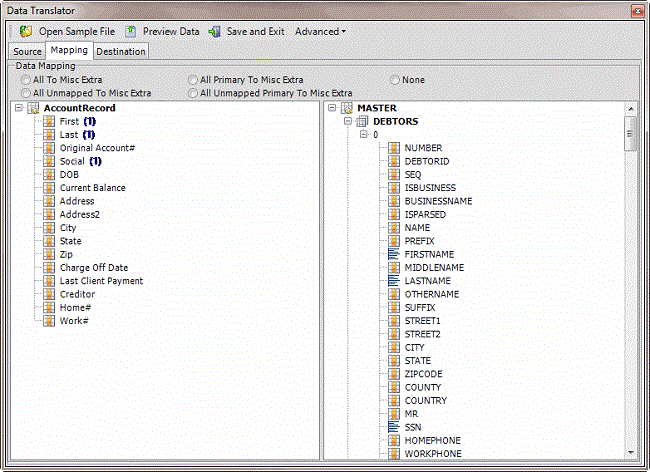
Click Modify File Mapping. The Data Translator window appears.

-
Click the Mapping tab.

-
In the Destination pane, double-click the table name. The Define Context Rows dialog box appears.

-
In the box, type one or more SQL statements. If a field name contains spaces, enclose it in brackets []. For more information about SQL statements, see SQL Statements.
Note: Not all accounts have a co-debtor record. To prevent Exchange Manager from adding blank co-debtor records, type the following in the box: NAME <> ''. Note the use of single quotes, not double quotes.


