- Contents
Process Credit Bureau Report Requests Using SmartALX
Once you’ve created the credit report export file, you’re ready to process and request credit bureau reports using SmartALX™. You install this program on a workstation set up to exchange files with credit bureaus. This workstation needs a working modem. Also, Latitude by Genesys Support or your internal IS department must configure the workstation for each credit bureau.
To process credit bureau report requests using SmartALX
-
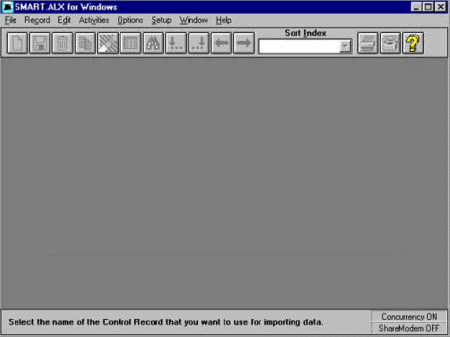
Start SmartALX™ on the designated workstation.
-
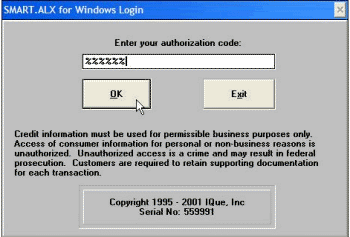
Provide your password and then click OK.
-
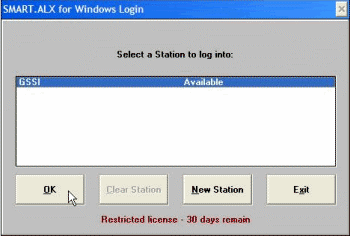
Click the workstation to log on to and then click OK.
-
To delete old data residing in SmartALX™, do the following:
-
From the Activities menu, click Enter Data.
-
Click the data grid icon. A window appears, which displays the data that was request previously.
-
In the lower section of the window, click All and then click the trash can icon. The system deletes the selected files.
-
Close the window.
-
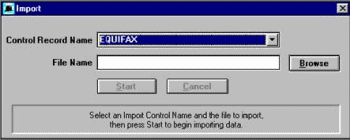
From the Activities menu, click Import. The Import dialog box appears.
-
In the Control Record Name list box, click the credit bureau to send the credit report request to.
-
In the File Name box, type the name of the credit bureau report file to import or click Browse to locate it.
Note: This file is the exported credit report requests. For more information, see Create a Credit Report Request Export File. If you
-
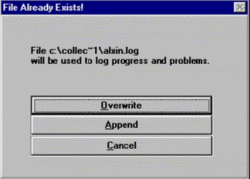
Click Start. If you imported this file previously, a dialog box appears.
-
Do one of the following:
-
To replace the data in the existing file with the data in the new file, click Overwrite.
-
To add the data from the new file to the existing file, click Append.
If you chose to continue with the import, at completion, a message appears in the lower section of the window that shows the number of records saved and rejected, and the number of errors. The errors are normal and indicate that account records have incorrect or missing data. For the reports with errors, collectors can request a report for each of the accounts and correct the missing credit report or erroneous data.
-
In the toolbar, click the telephone icon to begin requesting reports from the credit bureau. A confirmation dialog box appears.
-
Click Yes. When the system receives the reports, it displays a message dialog box indicating the number of reports received.
-
Click OK.
-
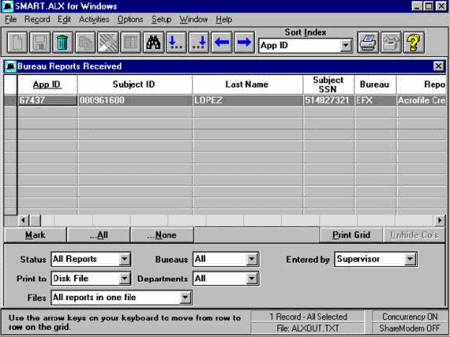
From the Activities menu, click Reports. The Bureau Reports Received pane appears. It lists all the credit reports pulled based on the credit report request file.
-
In the lower section of the window, in the Print to list box, click Disk File. This file is the one you use to import the information into Latitude.
-
In the toolbar, click the print icon. The Save Report to File dialog box appears.
-
In the File name box, type a name for the file and then click OK. The File Already Exists dialog box appears.
-
Click Overwrite. A confirmation dialog box appears.
-
Click OK.


