- Contents
Map the Import Worksheet
Use the Import tab in the Import Excel window to map the columns in the Microsoft Excel worksheet to the Latitude database. The Import tab is unavailable until you populate the Pre-Import Set Up tab.
If a column of data doesn't meet Latitude date and money field requirements, format the data before importing it. The requirements include:
-
Separate dates with dashes or slashes (for example, MM/DD/YYYY or MM-DD-YYYY).
-
Format money as numeric, meaning they cannot contain dollar signs or periods.
To map the Import worksheet
-
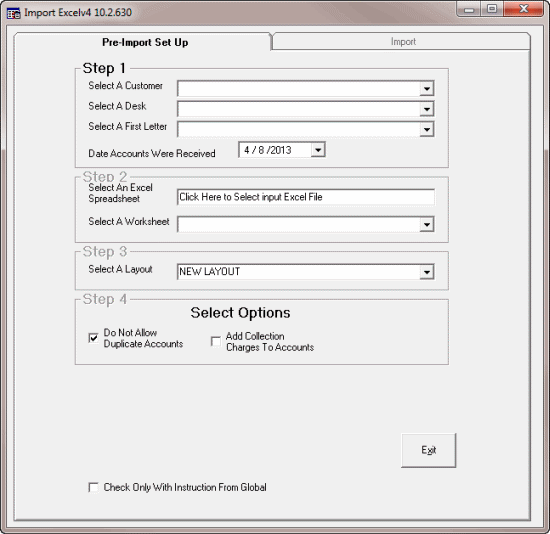
In the Main Menu window, from the Apps menu, click Import Excel. The Import Excel window appears.
-
Complete the Pre-Import Set Up tab. For more information, see Specify the Import Settings.
-
Click the Import tab.
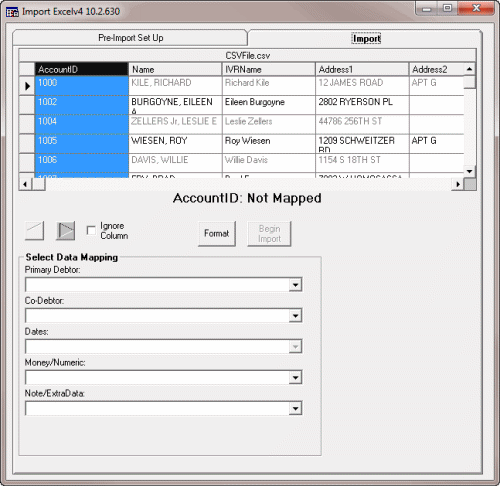
The system selects the first column in the worksheet by default. The column name and whether you mapped the column appears in the middle of the tab under the data grid. In the example, the user selected the AccountID column and the message indicates that the user didn't map it.
-
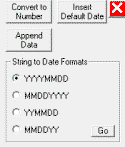
To format the selected import column, click Format to display the formatting options and then do one of the following:
-
To remove commas and dollar signs from data you are importing into date or money fields, click Convert to Number.
-
To insert a date into the blank rows in the selected column, click Insert Default Date. In the Default Date dialog box, type the date to insert and then click OK. The system populates all blank rows in the selected column with the specified date.
-
To append data to every row in the selected column, click Append Data. In the Append Data dialog box, type the data to append and then click OK. The system adds the specified data to the end of the existing data for every row in the selected column.
-
To format dates that don't have separators so that the system recognizes them as dates, click the String to Date Format option and then click Go. The system inserts separators in each row in the selected column so that the system recognizes the data as a date type.
-
In the Select Data Mapping section, in the list box, click the field in the Latitude database to map to the selected import column.
Primary Debtor: List of debtor 1 or master account fields.
Co-Debtor: List of co-debtor fields.
Dates: List of date fields.
Money/Numeric: List of interest rate and money bucket fields.
Note/Extra Data: List of note or extra data fields.
Note: To skip mapping the selected column, click the Ignore Column check box. The system doesn't import the column of data.
-
To move to the next column, click the right arrow icon.
-
Format and map the column as necessary. Continue moving through the columns until you have mapped all columns or marked them to ignore.
-
To change the mapping, select the Re-Map Column check box and then select the field from the appropriate list box in the Select Data Mapping section.
-
After mapping (or ignoring) all columns, click Begin Import. The New Layout dialog box appears.
-
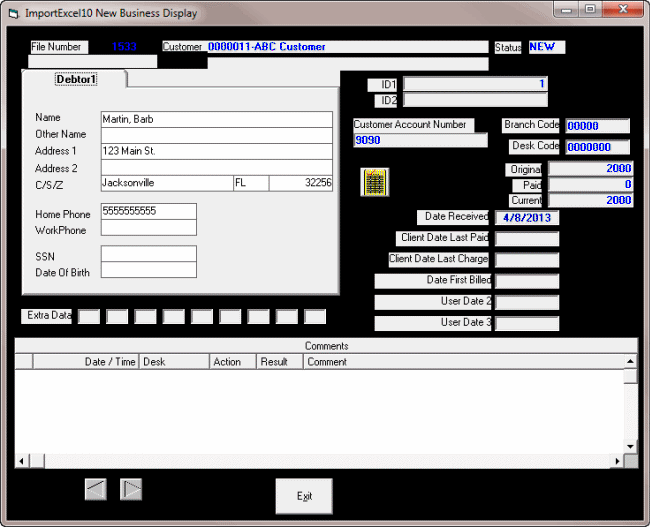
Type a name for the layout and then click OK. The system saves the layout and it's available for selection for future imports. When importing is complete, the Import Excel New Business Display window appears.
-
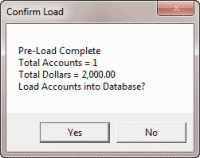
Use the arrows in the lower section of the window to scroll through and review the imported data. After reviewing the data, click Exit. The Confirm Load dialog box appears.
-
Click Yes. A confirmation dialog box appears.
-
Click Yes.
Note: If you chose to add collection charges to the imported accounts, a notification dialog box appears. This dialog box displays the number of the batch created so you can add the fees to the account balance. Write down this number so you can process the batch when you are ready. For more information, see Process a Batch. When you process the batch, the system does the following for each imported account:
-
Populates the money bucket that you specified when you set up the import with the collection charges.
-
Adds the collection charges to the current account balance.
-
Adds a note to the Notes panel that indicates the adjustment amount and date.


