- Contents
Exchange Manager Help
Configure a Financial Transactions Import File
Use the Financial Transactions tab on the Import Files tab to configure an import file for financial transactions.
To configure a financial transactions import file
-
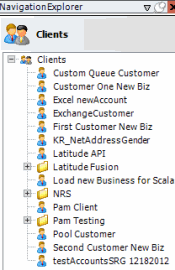
In the Navigation pane, click Clients.

-
In the Clients pane, expand the appropriate folder and then double-click the client. The tab for the specified client appears in the Information pane.

-
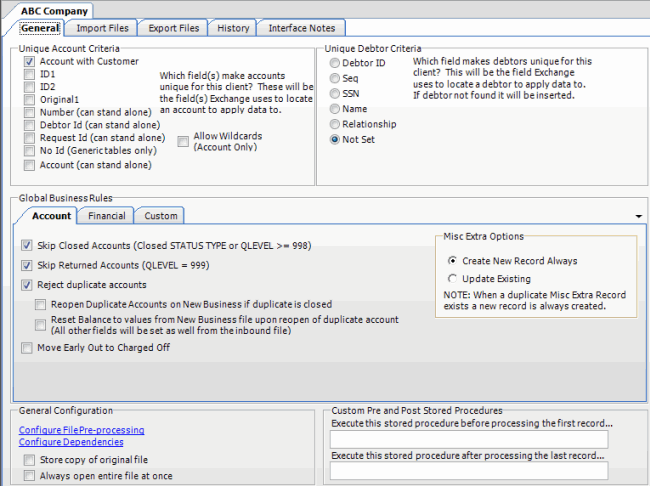
Click the Import Files tab and then click the Financial Transactions tab.

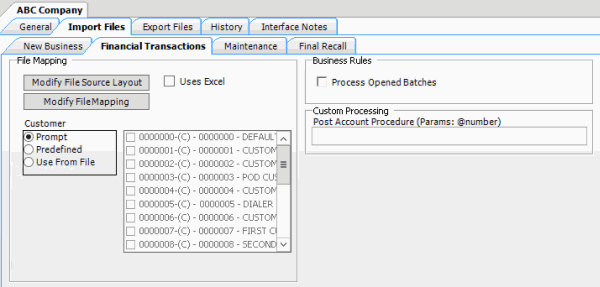
Modify File Source Layout: Opens the Define Import Layout window to allow you to define the layout of the import file. For more information, see Source File Layout.
Modify File Mapping: Opens the Data Translator window to allow you to map the import file to the Latitude database. For more information, see Import File Mapping.
Uses Excel: If selected, the import file is an Excel file. Each row in the Excel file contains one record only.
Customer:
Prompt: If selected, Exchange Manager prompts you during the import process for the client to associate to the accounts.
Predefined: If selected, allows you to specify the client to associate to the accounts.
[Client]: Name of the client to associate to the accounts. If you selected Predefined, specify the client name and Exchange Manager associates it during the import process.
Use From File: If selected, Exchange Manager associates the client specified in the import file to the accounts.
Note: If you use Number as the Unique Account Criteria, select Use From File, even though you don't have to map it.
Process Opened Batches: If selected, Exchange Manager applies the payments in the import file to the accounts. Exchange Manager doesn't include the adjustments created from reopening accounts and resetting balances.
Post Account Procedure: Stored procedure to call after processing each account.
-
Complete the information and then, in the toolbar, click Save. The Update Comment dialog box appears.
-
In the Update Comment box, type a comment regarding your changes and then click OK.


