- Contents
Exchange Manager Help
Configure a New Business Import File
Use the New Business tab on the Import Files tab to configure an import file for new business accounts.
To configure a new business Import file
-
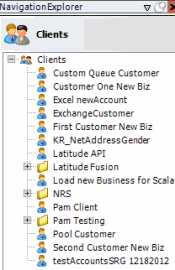
In the Navigation pane, click Clients.
-
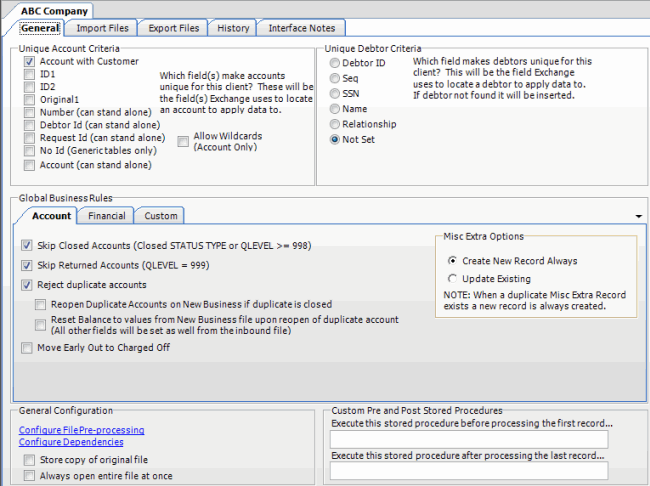
In the Clients pane, expand the appropriate folder and then double-click the client. The tab for the specified client appears in the Information pane.
-
Click the Import Files tab and then click the New Business tab.
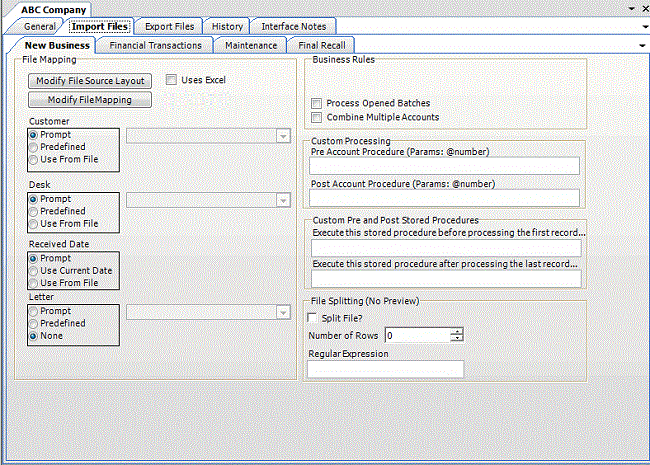
Modify File Source Layout: Opens the Define Import Layout window to allow you to define the layout of the import file. For more information, see Source File Layout.
Modify File Mapping: Opens the Data Translator window to allow you to map the import file to the Latitude database. For more information, see Import File Mapping.
Uses Excel: If selected, the import file is an Excel file. Each row in the Excel file contains one record only.
Customer:
Prompt: If selected, Exchange Manager prompts you during the import process for the client to associate to the accounts.
Predefined: If selected, allows you to specify the client to associate to the accounts.
[Client]: Name of the client to associate to the accounts. If you selected Predefined, specify the client name and Exchange Manager associates it during the import process.
Use From File: If selected, Exchange Manager associates the client specified in the import file to the accounts.
Desk:
Prompt: If selected, Exchange Manager prompts you during the import process for the desk to assign to the accounts.
Predefined: If selected, allows you to specify the desk to assign to the accounts.
[Desk]: Desk to assign to the accounts. If you selected Predefined, specify the desk and Exchange Manager associates it during the import process.
Use From File: If selected, Exchange Manager assigns the desk specified in the import file to the accounts.
Received Date:
Prompt: If selected, Exchange Manager prompts you during the import process for a received date to assign to the accounts.
Use Current Date: If selected, Exchange Manager assigns the current date to the accounts as the received date.
Use From File: If selected, Exchange Manager assigns the received date specified in the import file to the accounts.
Letter:
Prompt: If selected, Exchange Manager prompts you during the import process for the initial letter to associate to the accounts.
Predefined: If selected, allows you to specify the initial letter to associate to the accounts.
[Letter]: Initial letter to associate to the accounts. If you selected Predefined, specify the letter and Exchange Manager associates it during the import process.
None: If selected, Exchange Manager doesn't associate an initial letter to the accounts.
Process Open Batches: If selected, Exchange Manager applies the payments in the import file to the accounts. Exchange Manager doesn't include adjustments created from reopening accounts and resetting balances.
Combine Multiple Accounts: If selected and duplicate account information exists in the import file, Exchange Manager combines the balances and uses all information from the first record found for the account.
Pre Account Procedure: Stored procedure to call before processing each account.
Post Account Procedure: Stored procedure to call after processing each account.
Execute this stored procedure before processing the first record: Stored procedure to call before processing the first record in the import file.
Execute this stored procedure after processing the last record: Stored procedure to call after processing the last record in the import file.
Split File?: If selected, Exchange Manager splits the import file based on the number of rows and the regular expression that you specify.
Number of Rows: Number of rows to include in the file split.
Regular Expression: Regular expression to use to limit the file splitting.
-
Complete the information.
-
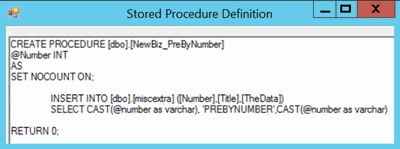
To view the SQL script for a stored procedure, do the following:
-
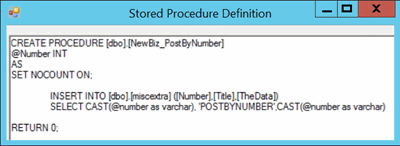
For the pre-account procedure, in the Custom Processing section, double-click the Pre Account Procedure label. The Stored Procedure Definition window appears.
-
For the post-account procedure, in the Custom Processing section, double-click the Post Account Procedure label. The Stored Procedure Definition window appears.
-
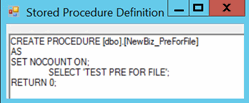
For the pre-processing procedure, in the Custom Pre and Post Stored Procedures section, double-click the Execute this stored procedure before processing the first record... label. The Stored Procedure Definition window appears.
-
For the post-processing procedure, in the Custom Pre and Post Stored Procedures section, double-click the Execute this stored procedure after processing the last record... label. The Stored Procedure Definition window appears.

-
In the toolbar, click Save. The Update Comment dialog box appears.
-
In the Update Comment box, type a comment regarding your changes and then click OK.


