- Contents
Exchange Manager Help
Define a Destination Field Value Using a Switch
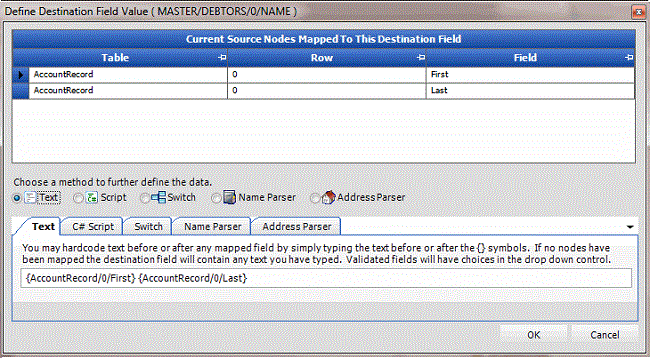
Use the Define Destination Field Value dialog box to switch a value in the source field to a different value before storing it to the destination field. For example, if the source file uses a two-character code to identify account statuses, create a switch to convert the code to the three-character code that Latitude uses.
To define a destination field value using a switch
-
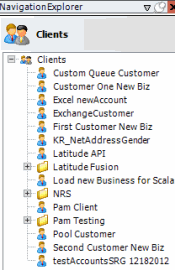
In the Navigation pane, click Clients.
-
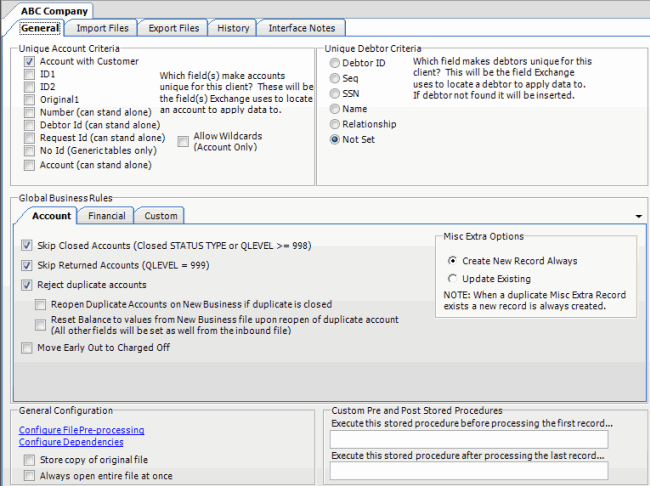
In the Clients pane, expand the appropriate folder and then double-click the client. The tab for the specified client appears in the Information pane.
-
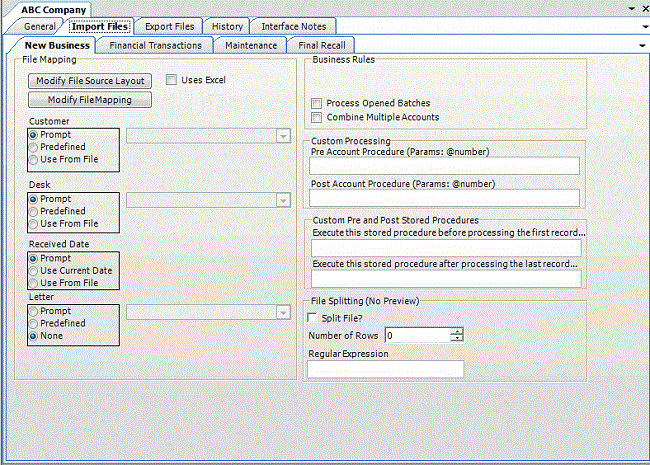
Click the Import Files tab and then click the New Business, Financial Transactions, Maintenance, or Final Recall tab, depending on the import file type.
-
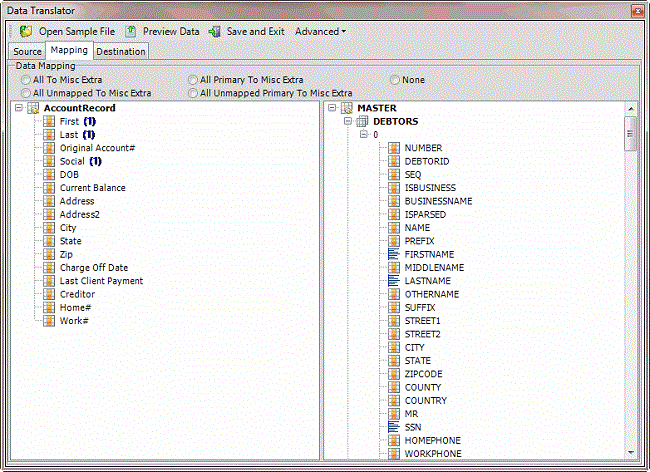
Click Modify File Mapping. The Data Translator window appears.

-
Click the Mapping tab.
-
In the Destination pane, double-click a mapped destination field. The Define Destination Field Value dialog box appears.
-
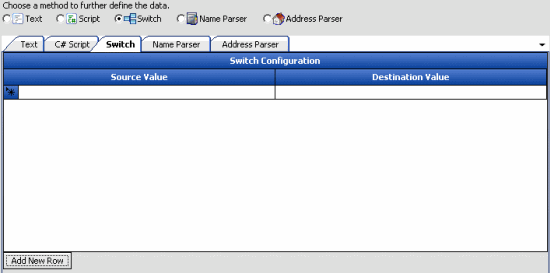
Click Switch. The Switch tab appears.
-
Click Add New Row.
-
In the Source Value box, type the value that is in the source field.
-
In the Destination Value box, type the value to assign to the mapped destination field.
The following example shows the two-character codes in the source file and the values to assign to the destination field. The "@Else" source value handles data not mapped currently. In the example, if the source value isn't "UN", "MO", or "PW", Exchange Manager assigns "04211" to the destination field.

-
Click OK.
-
In the menu bar, click Advanced and then click Save Mapping Definition. The Save As dialog box appears.
-
In the File name box, type a name for the file and then click Save.


