- Contents
Exchange Manager Help
Define a Destination Field Value Using the Name Parser
Use the Define Destination Field Value dialog box to extract components of a name (such as first name, middle initial, and last name) from the source field and store that value in the destination field. Parsing also keeps blank lines from creating an extra customer record when using comma insertion.
To define a destination field value using the name parser
-
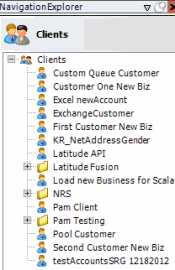
In the Navigation pane, click Clients.
-
In the Clients pane, expand the appropriate folder and then double-click the client. The tab for the specified client appears in the Information pane.
-
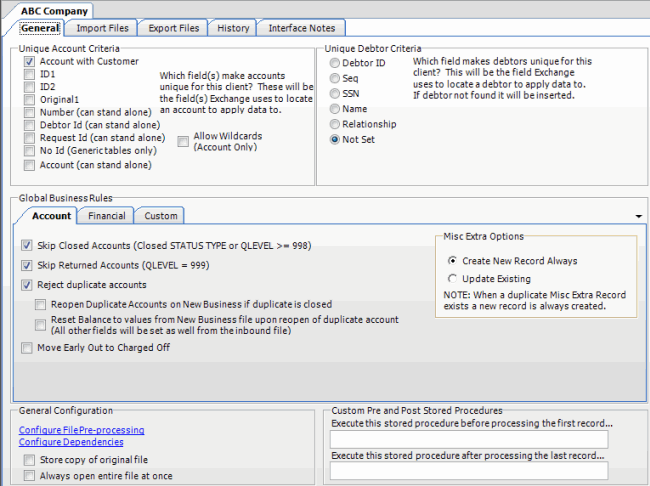
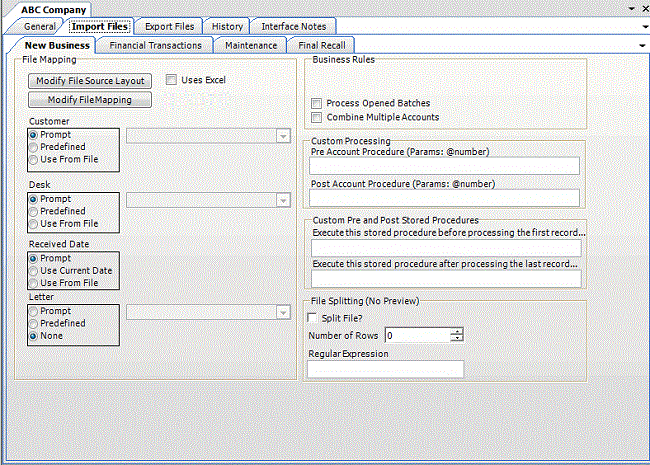
Click the Import Files tab and then click the New Business, Financial Transactions, Maintenance, or Final Recall tab, depending on the import file type.
-
Click Modify File Mapping. The Data Translator window appears.

-
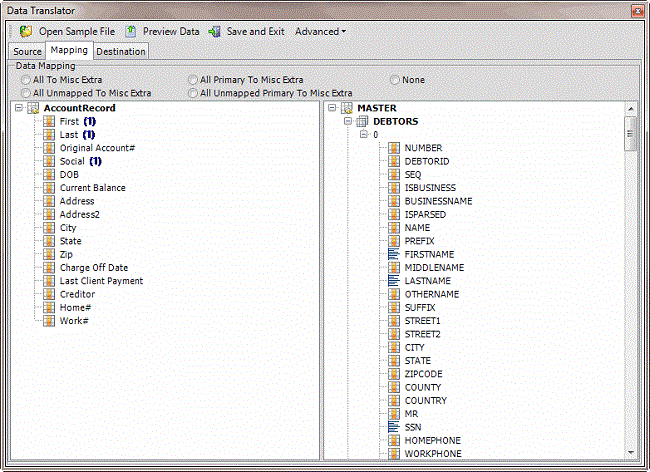
Click the Mapping tab.
-
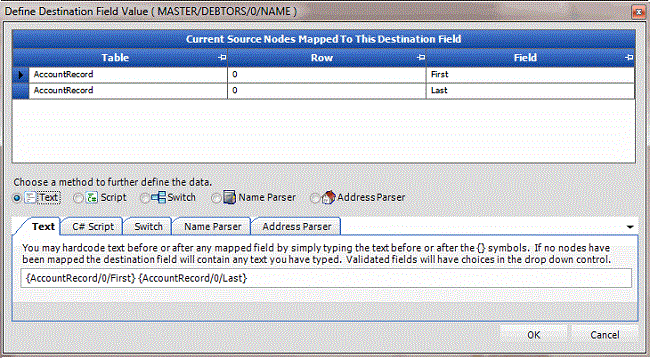
In the Destination pane, double-click a mapped destination field. The Define Destination Field Value dialog box appears.
-
Click Name Parser. The Name Parser tab appears.

Format: Format of the source field. For best results for a person's name, click VARIABLE. For a business name, click Company.
Return Value: Value to extract from the source field and insert into the destination field. For best results for a person's name, click Latitude Style Name (format is last name, first name, middle initial). For a business, click Business Flag.
Variable #1 and Variable #2: Format of the source data. If you selected "VARIABLE" in the Format list box, specify the format. FML = First Middle Last and LFM = Last First Middle.
Note: Import business accounts to a separate file from customer (debtor) accounts.
-
Complete the information and then click OK.
-
In the menu bar, click Advanced and then click Save Mapping Definition. The Save As dialog box appears.
-
In the File name box, type a name for the file and then click Save.


