- Contents
Exchange Manager Help
Import a Final Recall File
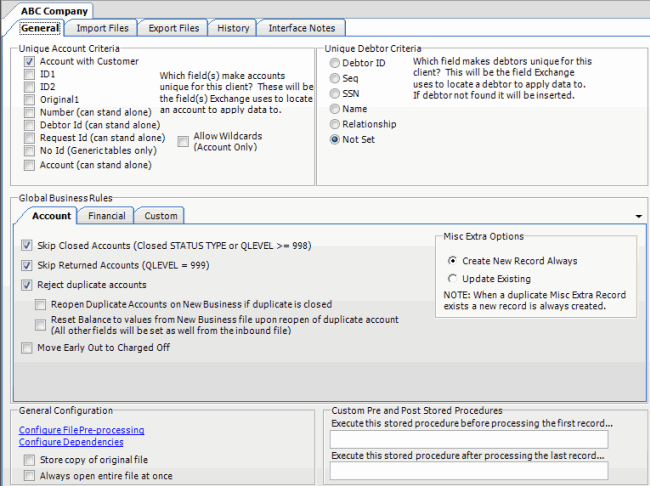
Use the Import Final Recall dialog box to import final recall information. Ensure that you specified the unique customer criteria on the General tab and mapped it from the source file to the destination file. For more information, see Specify Unique Customer Criteria. You must configure Exchange Manager for importing files. For more information, see Import Files.
To import a final recall file
-
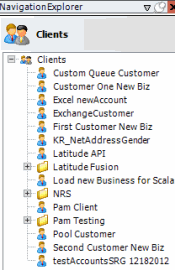
In the Navigation pane, click Clients.

-
In the Clients pane, expand the appropriate folder and then double-click the client. The tab for the specified client appears in the Information pane.

-
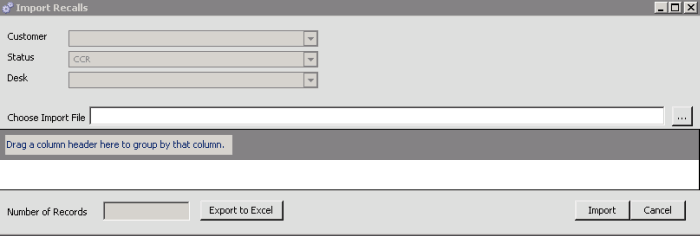
From the menu bar, click File > Import > Final Recall. The Import Final Recall dialog box appears. The options available for selection depend on how your organization configured the final recall import file. For more information, see Configure a Final Recall Import File.

-
If applicable (depending on the import file configuration), specify the client, the desk to change the account to, and the account status.
-
Click the ellipsis (...) next to the Choose Import File box.
-
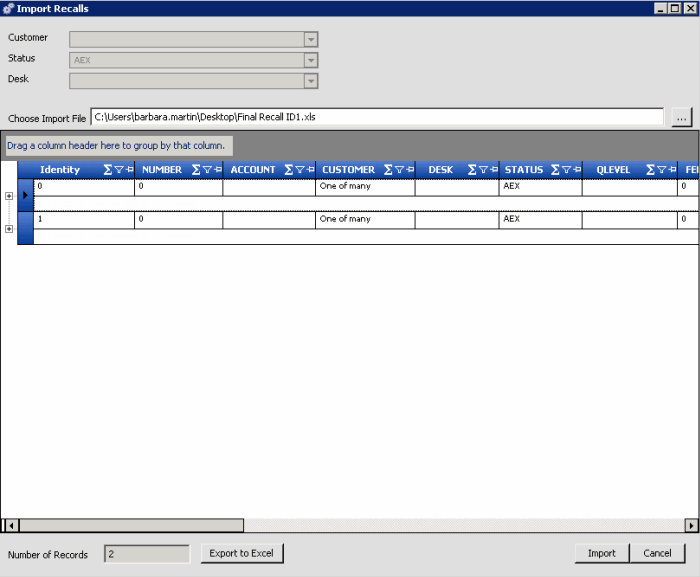
In the Open dialog box, click the file to import and then click Open. Data in the import file appears in the data grid in the lower section of the Import Final Recall dialog box.

Number of Records: Number of records in the import file.
-
To expand a row and view its details, click the plus sign (+).
-
To export the information to an Excel file to review the data before importing, click Export to Excel.
-
When you are ready to import the file, click Import. The Import Final Recall dialog box closes and the import progress appears in the lower section of the Final Recall tab.


