


- Contents
Interaction Process Automation Designer Help
End Task
Use End Task to end a task in a process. When you design a task in IPA Designer, you must add at least one End Task action at the end of the task. In some situations, you might have more than one End Task action in a task. For example, if your task includes a Decision action:
-
Your task might terminate if the If condition is true. In that case, you put an End Task action directly after the True part of the Decision action (see the section Decision for a diagram).
-
Your task might continue for several more steps if the Else condition true. In that case, you put an End Task action at the end of the additional steps.
You might also insert multiple End Task actions if your task uses a Select statement to branch or uses a Loop statement to loop. The rule is: Every separate sequence of actions within a task must terminate in an End Task action.
To add an End Task action to your process design:
-
Drag the action End Task from the toolbox to the desired point in your task design.
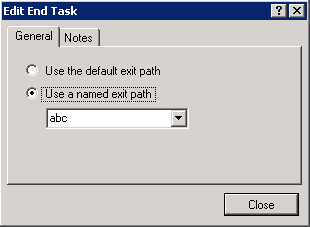
IPA Designer displays the Edit End Task dialog box (see figure).
-
Choose the exit path (what the task does as it ends):
-
To use the default exit path, select the radio button labeled Use the default exit path.
-
If you want the End Task action to return a value to your process, such as Success or Error 5332, select the radio button labeled Use a named exit path, then type or select the desired path. The result value is the same as the path name.
-
The path name (result value) can be anything you want. You use the value in the Run Task action, which can make your process do different things depending on the path chosen.
If needed, click the Notes tab and add explanatory notes in the text box. -
Click Close.
IPA Designer adds the End Task action to your task design at the point you indicated.