- Contents
Interaction Recorder Extreme Query Help
Creating an Extreme Query Search
Create an Extreme Query search to quickly retrieve and playback a recorded call. In the Extreme Query view, select Attributes or an ID to run a search. The Search Results are displayed in the Workspace.
Creating a Search
To begin a search, open the Extreme Query page in the Workspace. From the Interaction Recorder Extreme Query Navigation Pane, click Search for recordings.
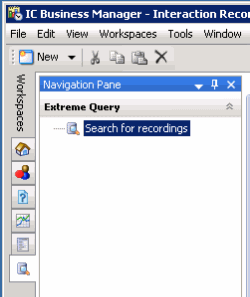
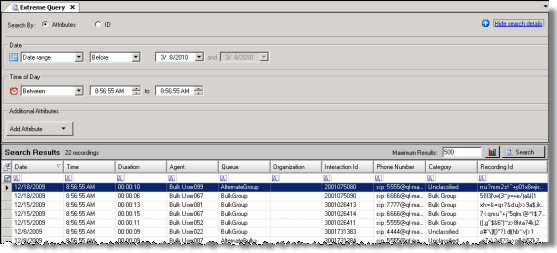
The Extreme Query View is displayed in the Workspace.
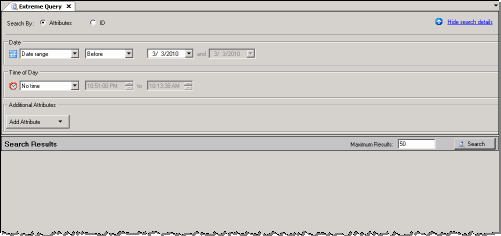
Creating a Search using Attributes
Search criteria must contain a Date attribute or a Time attribute, or both. Date and Time are configured separately. When a Date and Time are both configured, the Time attribute is the time of day a recording might have occurred for each date included in the search. For example, if the Date is specified as Last Month and the Time is specified between 9:00:00 AM and 5:00:00 PM, the search results include recordings that occurred between 9 AM and 5 PM on every day of the previous month. If a Date is not specified, the search results include all of the recordings in the database for the configured Time.
Follow these steps to create a search using Attributes.
-
In the Search by area, select Attributes.
-
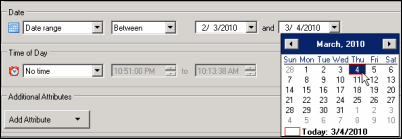
Under Date, in the drop-down list, select the Date attribute. Date options are: Date range, Today, Yesterday, Last Week, Last Month, or No date. If you select Date range, from the next list select an option Before, After, or Between. Depending on your choice, in the Date boxes type or select a date from the drop-down calendar.
-
Under Time of Day, in the drop-down list, select the Time attribute. Time options are: No Time, After, Before, Between. Depending on your choice, in the Time boxes type or select the part of the time you want to change.
-
Add additional attributes to your search using the Add Attribute list. Available attributes are: Agent, Duration, Phone number, and Queue. You will be required to configure additional values based on your attribute choices. For more information, see Additional Attributes. To delete an attribute from a search, click the attribute button and on the menu, click Remove. To remove All Attributes from the search, right-click in the area of the Additional Attributes box, and select Clear All Attributes on the shortcut menu.
Note Up to five additional custom attributes can be defined for the Add Attribute list. Define custom attributes in Interaction Recorder Policy Editor in Interaction Administrator. For more information, see Defining_Custom_Attributes. -
When search attributes are complete, click Search.

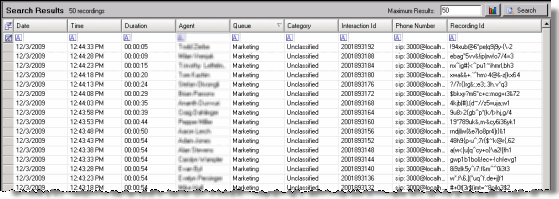
The results are displayed in the Search Results pane.
Creating a Search using an ID
There are two options for searching with an ID. You can search by Recording ID or by Interaction ID.
Follow these steps to create a search using an ID.
-
In the Search by area, select ID.
-
In the box to the right, select either Recording ID or Interaction ID.

-
In the ID box, type a valid ID string.
-
Click Search. The recording is displayed in the Search Results pane.
Displaying Search Details with Search Results
When you run a search, the Search Results pane is displayed in the Workspace. If you want to view the details of the search, click Show search details.

The Search details pane is displayed at the top of the Workspace.
Hiding the Search Details pane
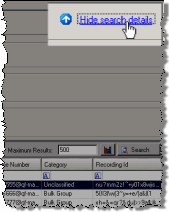
To hide the Search Details pane, allowing more of the Workspace to display Search Results, click Hide search details.
What's next?
After creating a search, see Playback a Recording and Working with Search Results.
Related Topics


