- Contents
AIM Help
Specify Agency or Attorney Constraints
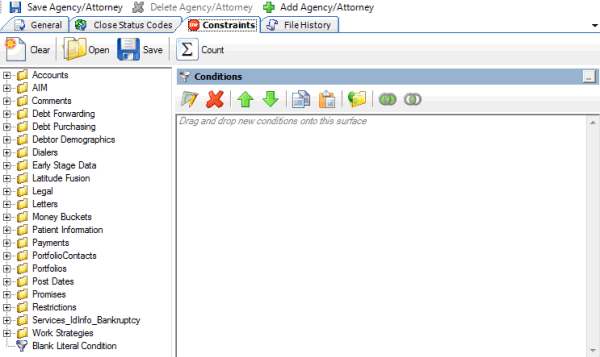
Use the Constraints tab in the Agencies/Attorneys pane to specify the constraints to use to limit the accounts that an agency or attorney can accept as a placement. For example, you can set a constraint for an agency that only accepts accounts from California. AIM uses these constraints with the Account Filter when placing accounts using business rules. If you generate a placement file manually, AIM doesn't apply constraints.
To specify agency or attorney constraints
-
Do one of the following:
-
If you are adding an agency or attorney, do the steps to Add an Agency or Attorney.
-
If you are modifying an agency or attorney, do the steps to Modify an Agency or Attorney.
The Agencies/Attorneys pane appears.
-
Click the Constraints tab.

-
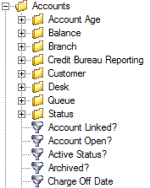
In the Data Selection pane, click the plus sign (+) next to a folder to expand it.

-
Click the data item for which to set a condition and drag and drop it in the Conditions pane. A dialog box appears, which allows you to specify the criteria. The title of the dialog box and the information displayed depend on the condition selected. For more information about setting conditions, see Query Condition Types.
In the following example, the user dragged and dropped the Current Balance data item into the Conditions pane, causing the Current Balance dialog box to appear.

-
In the dialog box, specify the criteria and then click Okay. The condition appears in the Conditions pane. In the following example, the condition indicates you want to include in the query results accounts with a current balance that is greater than or equal to "$2,000."

-
Drag and drop more data items as necessary and specify the criteria for each one. For more information about conditions, see Query Conditions.
-
To count the number of records that match the specified criteria, in the toolbar, click Count. The results appear in the Query Designer dialog box. Click OK.
-
To save the query, do the following:
-
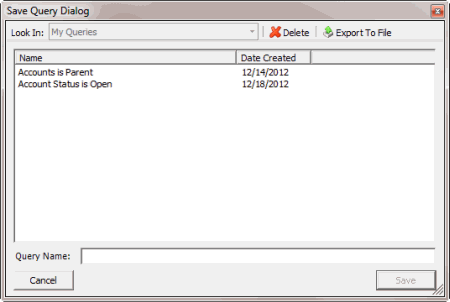
In the toolbar, click Save. The Save Query Dialog box appears.

-
In the Query Name box, type a name for the query and then click Save.
Tip: To overwrite an existing query, in the Name column, click the query to overwrite and then click Save.
-
To save the constraint, in the menu bar, click Save Agency/Attorney.


