- Contents
Exchange Manager Help
Add Address Table
Use the Mapping tab to add the Latitude Address table so that you can map customer addresses and import the addresses into Latitude. You can only import addresses into the Address table for new business. You cannot import addresses to update records.
Note: Your organization must configure Exchange to allow you to add the Address table. For more information, see "Configure Exchange" in the Latitude Installation and Configuration Guide.
To add the Address table
-
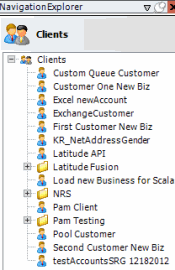
In the Navigation pane, click Clients.
-
In the Clients pane, expand the appropriate folder and then double-click the client. The tab for the specified client appears in the Information pane.
-
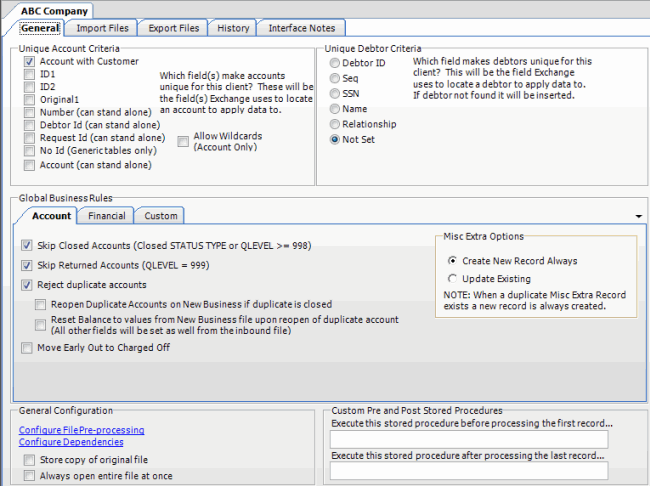
Click the Import Files tab and then click the New Business, Financial Transactions, Maintenance, or Final Recall tab, depending on the import file type.
-
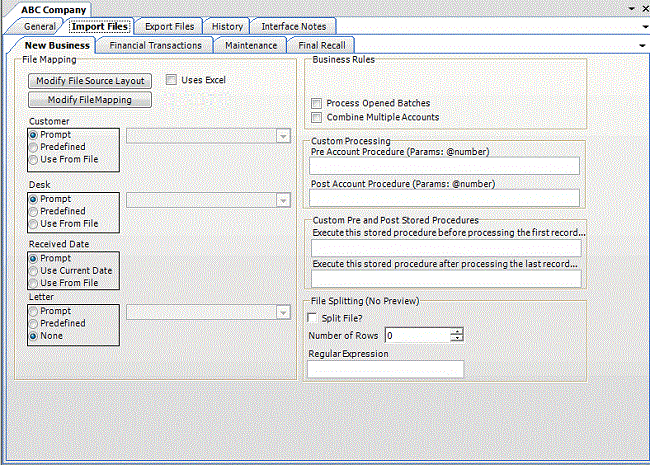
Click Modify File Mapping. The Data Translator window appears.

-
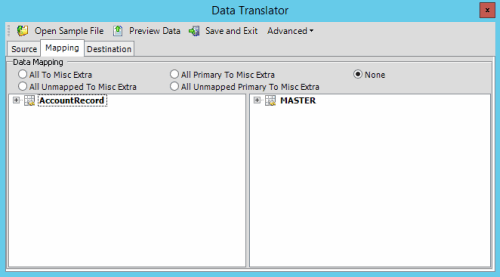
Click the Mapping tab.
-
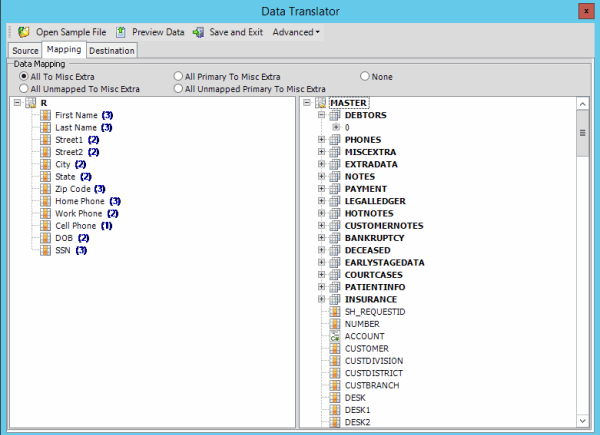
In the Destination pane, expand the Master node and then expand the Debtors node.
-
Right-click the 0 (zero) node and then click Add Debtor Association Table. The Select Debtor Association Table dialog box appears.

-
In the Select the Table list box, click Address and then click OK. The Address table appears in the Destination pane.
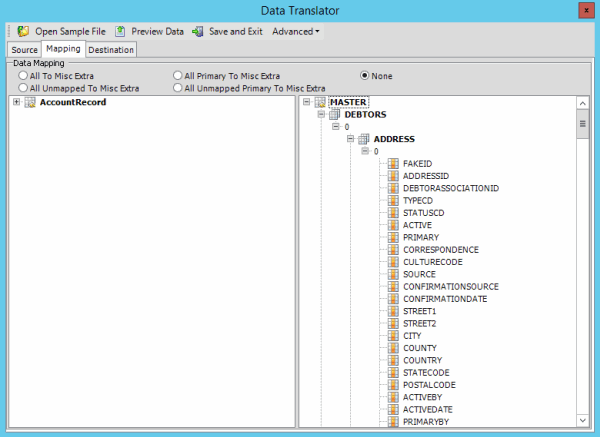
You can now map your source fields to the Address table and then import the addresses for new business. For more information about mapping, see Map Source Fields to Destination Fields. For more information about importing, see Import a New Business File.
Related Topics
Define a Destination Field Value Using Hardcoded Text
Define a Destination Field Value Using C# Script
Define a Destination Field Value Using a Switch
Define a Destination Field Value Using the Name Parser


